How to make a Diaper Cake–Very Easy!
A friend of mine is pregnant and we had her baby shower this past weekend. I wanted to make this super cute motorcycle diaper cake for her but with all the other things I was doing I just didn’t want to mess it up and start all over….since I’d never even done a “normal” diaper cake, lol!
So I googled traditional diaper cake and there were sooooooo many tutorials. So many that at first I felt overwhelmed. As I kept looking at them I decided to just try it. Most tutorials said to rubber band every single stinkin diaper! Ummm, nope wasn’t gonna do that! So here’s my tutorial on making it easy! It took me about 20 min to make the cake itself and about 10 min to add the decor.
Items needed:
50ish diapers (I used 46 and they were size 2-pampers swaddlers; Bottom layer-25, Middle layer-15, Top layer- 6) I just kept adding diapers until it looked circle-ish)
rubberbands (I only used 3!!)
stick pins (6 at most)
ribbon (3 yds, i had a little bit left over too!)
embellishments (scrapbook paper in her theme is what I used)
scissors
12 inch wooden dowels (I used 2 to secure cake and 1 to add the name sign)
glue gun
cake board or platter (I used both to make but didn’t wind up taking the platter)
What to do:
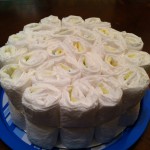
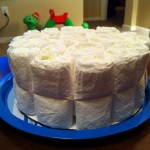
Roll up each diaper and add to 1 rubber band. Yes all 25 of these diapers are held together with 1 large rubberband. The first few diapers you roll might need a roll touch-up towards the end since it’s hard for the rubberband to hold just a few at first.
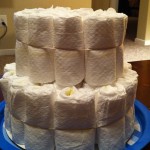
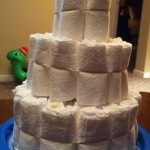
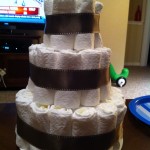
Make your next 2 layers (remember each layer I only used 1 rubberband).
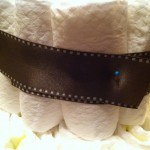
Next take your ribbon and add it around a layer over the rubberband. Once you wrap it around and it’s evenly over the rubberband add a stick pin to the bottom part of the ribbon (the part you started with. Pull the roll of ribbon tight and pin it to the ribbon on the cake and cut the ribbon (after where you pinned it).
Repeat for all layers. Once done pinning I took the top pin out and added a dot of hot glue, pulled the ribbon tight again and placed on top of the pinned ribbon, push down so the glue will spread and stick.
Add your dowels…somehow didn’t get a pic of this part. But all I did was shove them through the layers starting at the top layer.
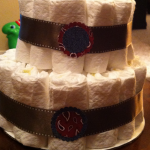
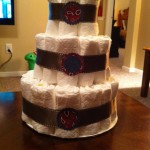
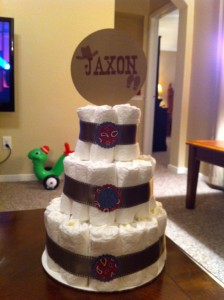
Next add your embellishments. I used scrapbook paper and used a 2 inch scallop punch and a 1.5 inch scallop punch. I then used a glue dot runner on the back and attached the smaller circle to the larger circle. I then added a dot of hot glue on the back to attach to the ribbon. I attached the circles to the part of the ribbon that was cut so it looks seamless.
Next I had my hand dandy husband make a sign with the baby’s name and other images I liked. My favorite is the little boot prints (like baby feet prints). He made 2 of them so I could glue them together. I glued them to another wooden dowel with my glue dot runner and stuck the dowel down in the cake.
Voila…easy and simple looking diaper cake.

Recent Comments