by jcastles | Sep 23, 2013 | Birthday Parties, Crafts, Family, Uncategorized
My youngest son has recently become a Mickey Mouse Clubhouse fan. We have no less than 50 episodes saved to our DVR and yes I taught him how to use it so I don’t have to stop what I’m doing every 25 minutes. No I’m not the parent that limits my kids TV time. They play outside plenty and their rooms plenty so I don’t feel I need to limit it. I have on occasion but mostly they do manage their own TV time well. Ok..back to MMC.
For his birthday he wanted a MMC party. I was happy because I knew that I could make just about everything for the party. I knew I wanted to cherish his birthday forever, so I had to seek professional help from https://www.youngfilmacademy.co.uk to make a birthday movie for my son. Since we’re in a new state with rain possibilities all the time and I’m not use to it yet we were having a hard time finding a location for a party. There isn’t much here that’s indoors which is totally weird to me. I wanted to have it at a local farm and if I hadn’t waited so long (he has a labor day birthday–gotta plan a later party) for his party we could have but the rain came the day of his party so i’m really glad we didn’t do the farm. I decided to go with the ole Chuck E Cheese birthday party. Which it turned out GREAT so I can’t complain!
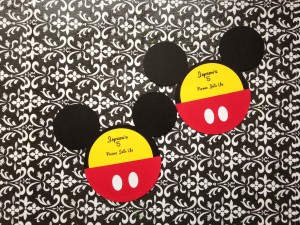
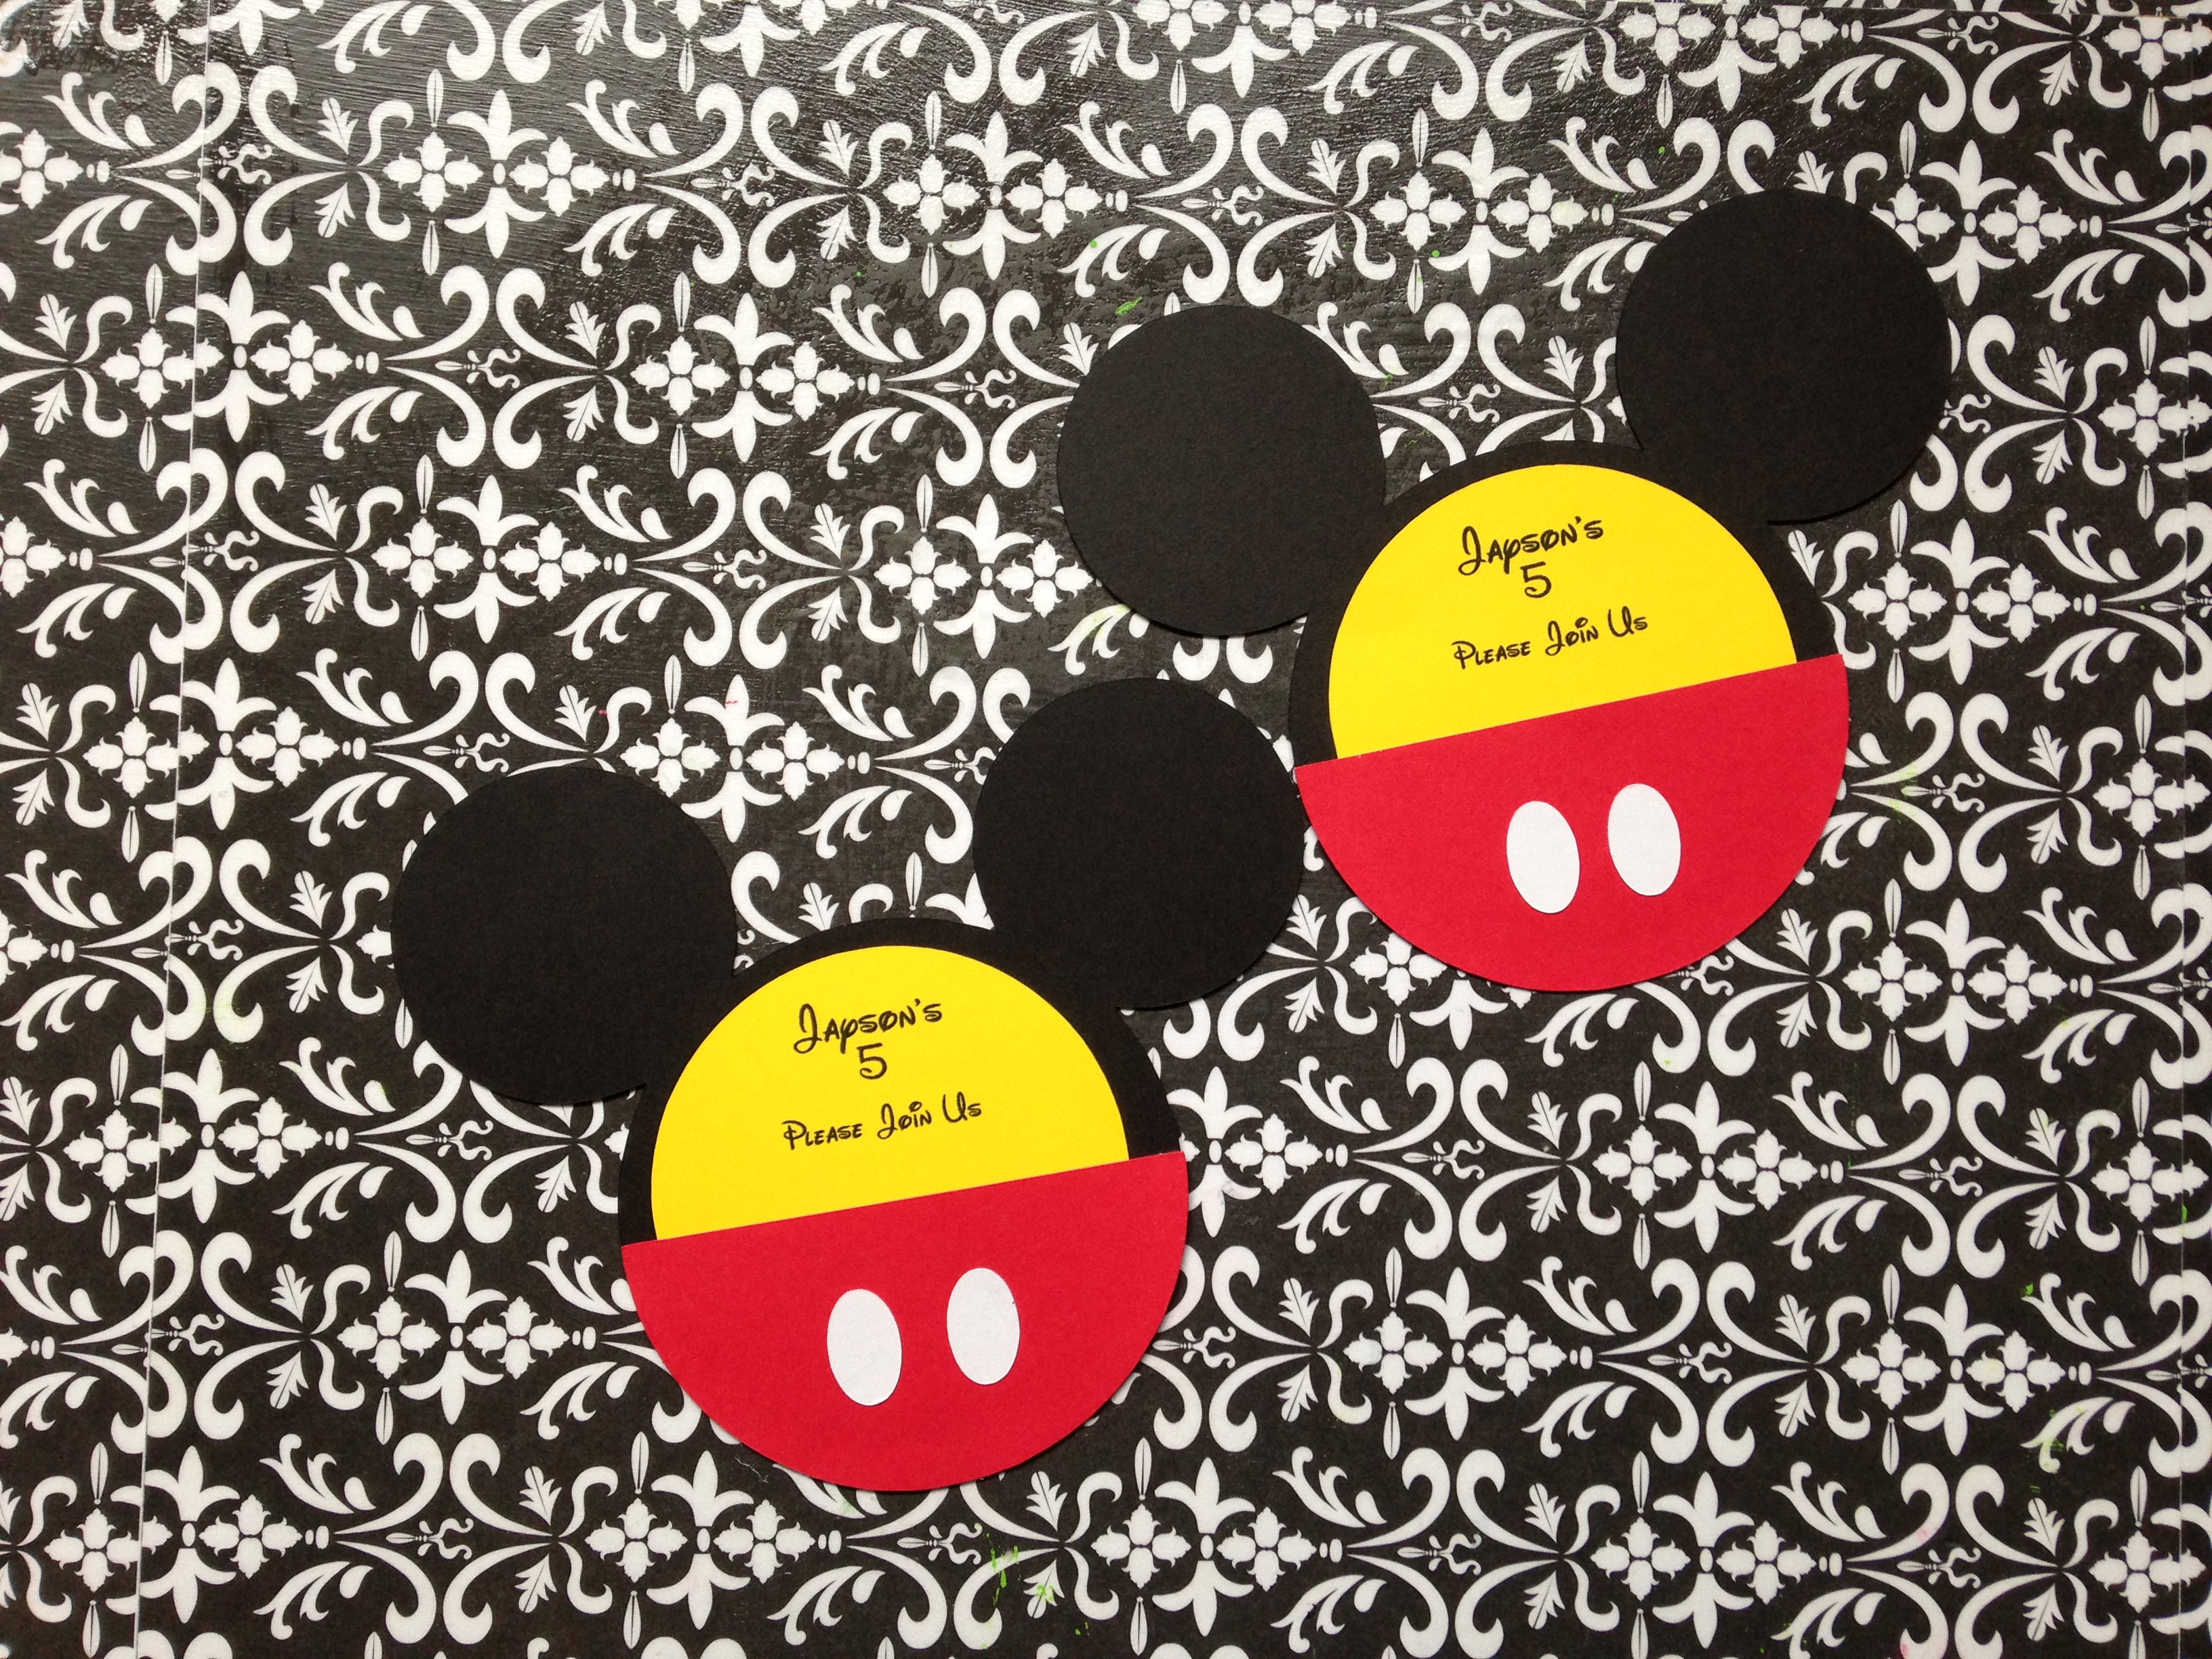
Now onto the birthday party! One month before the party I was trying to decide between 2 different types of invitations. I had created a 4×6 invitation but decided to go with a crafty one. The yellow insert with all the party details comes out of the pocket. I used my Silhouette Cameo for all of it. I was so glad that I had it!! I seriously made everything for the party with it!
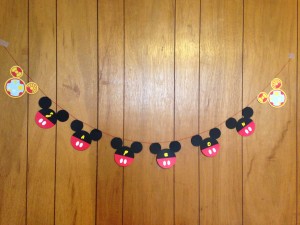
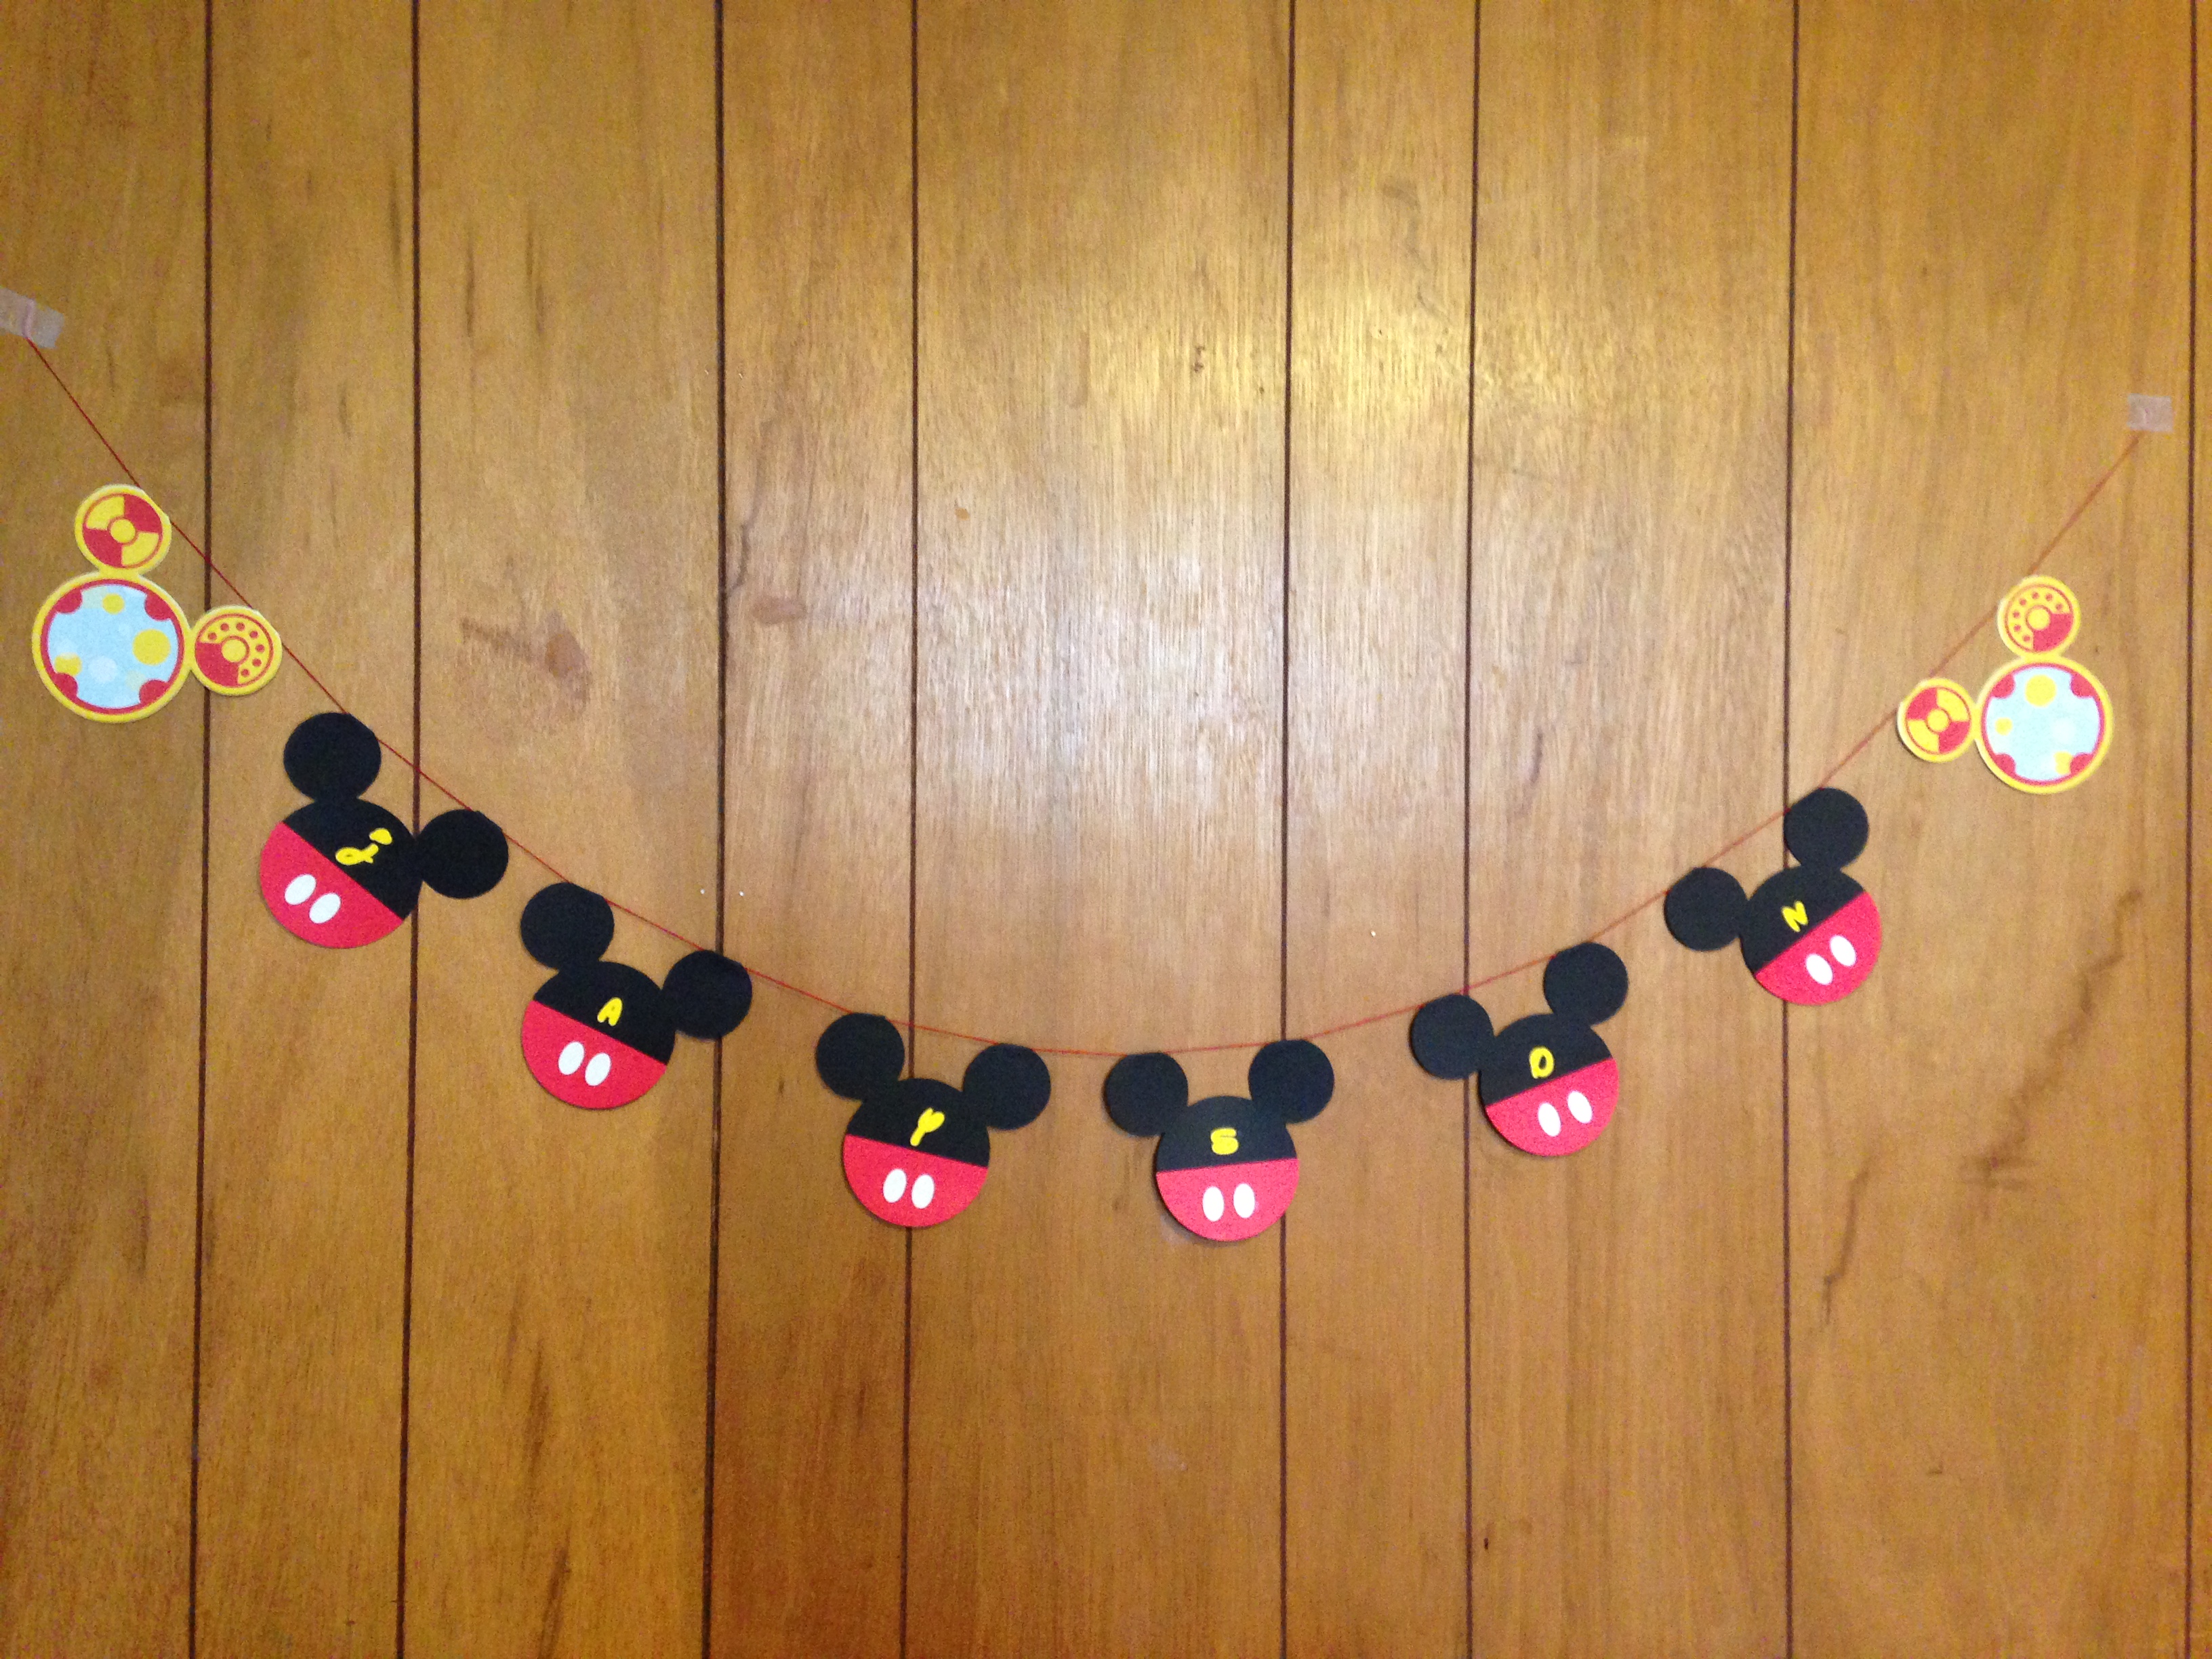
Here’s the banner!
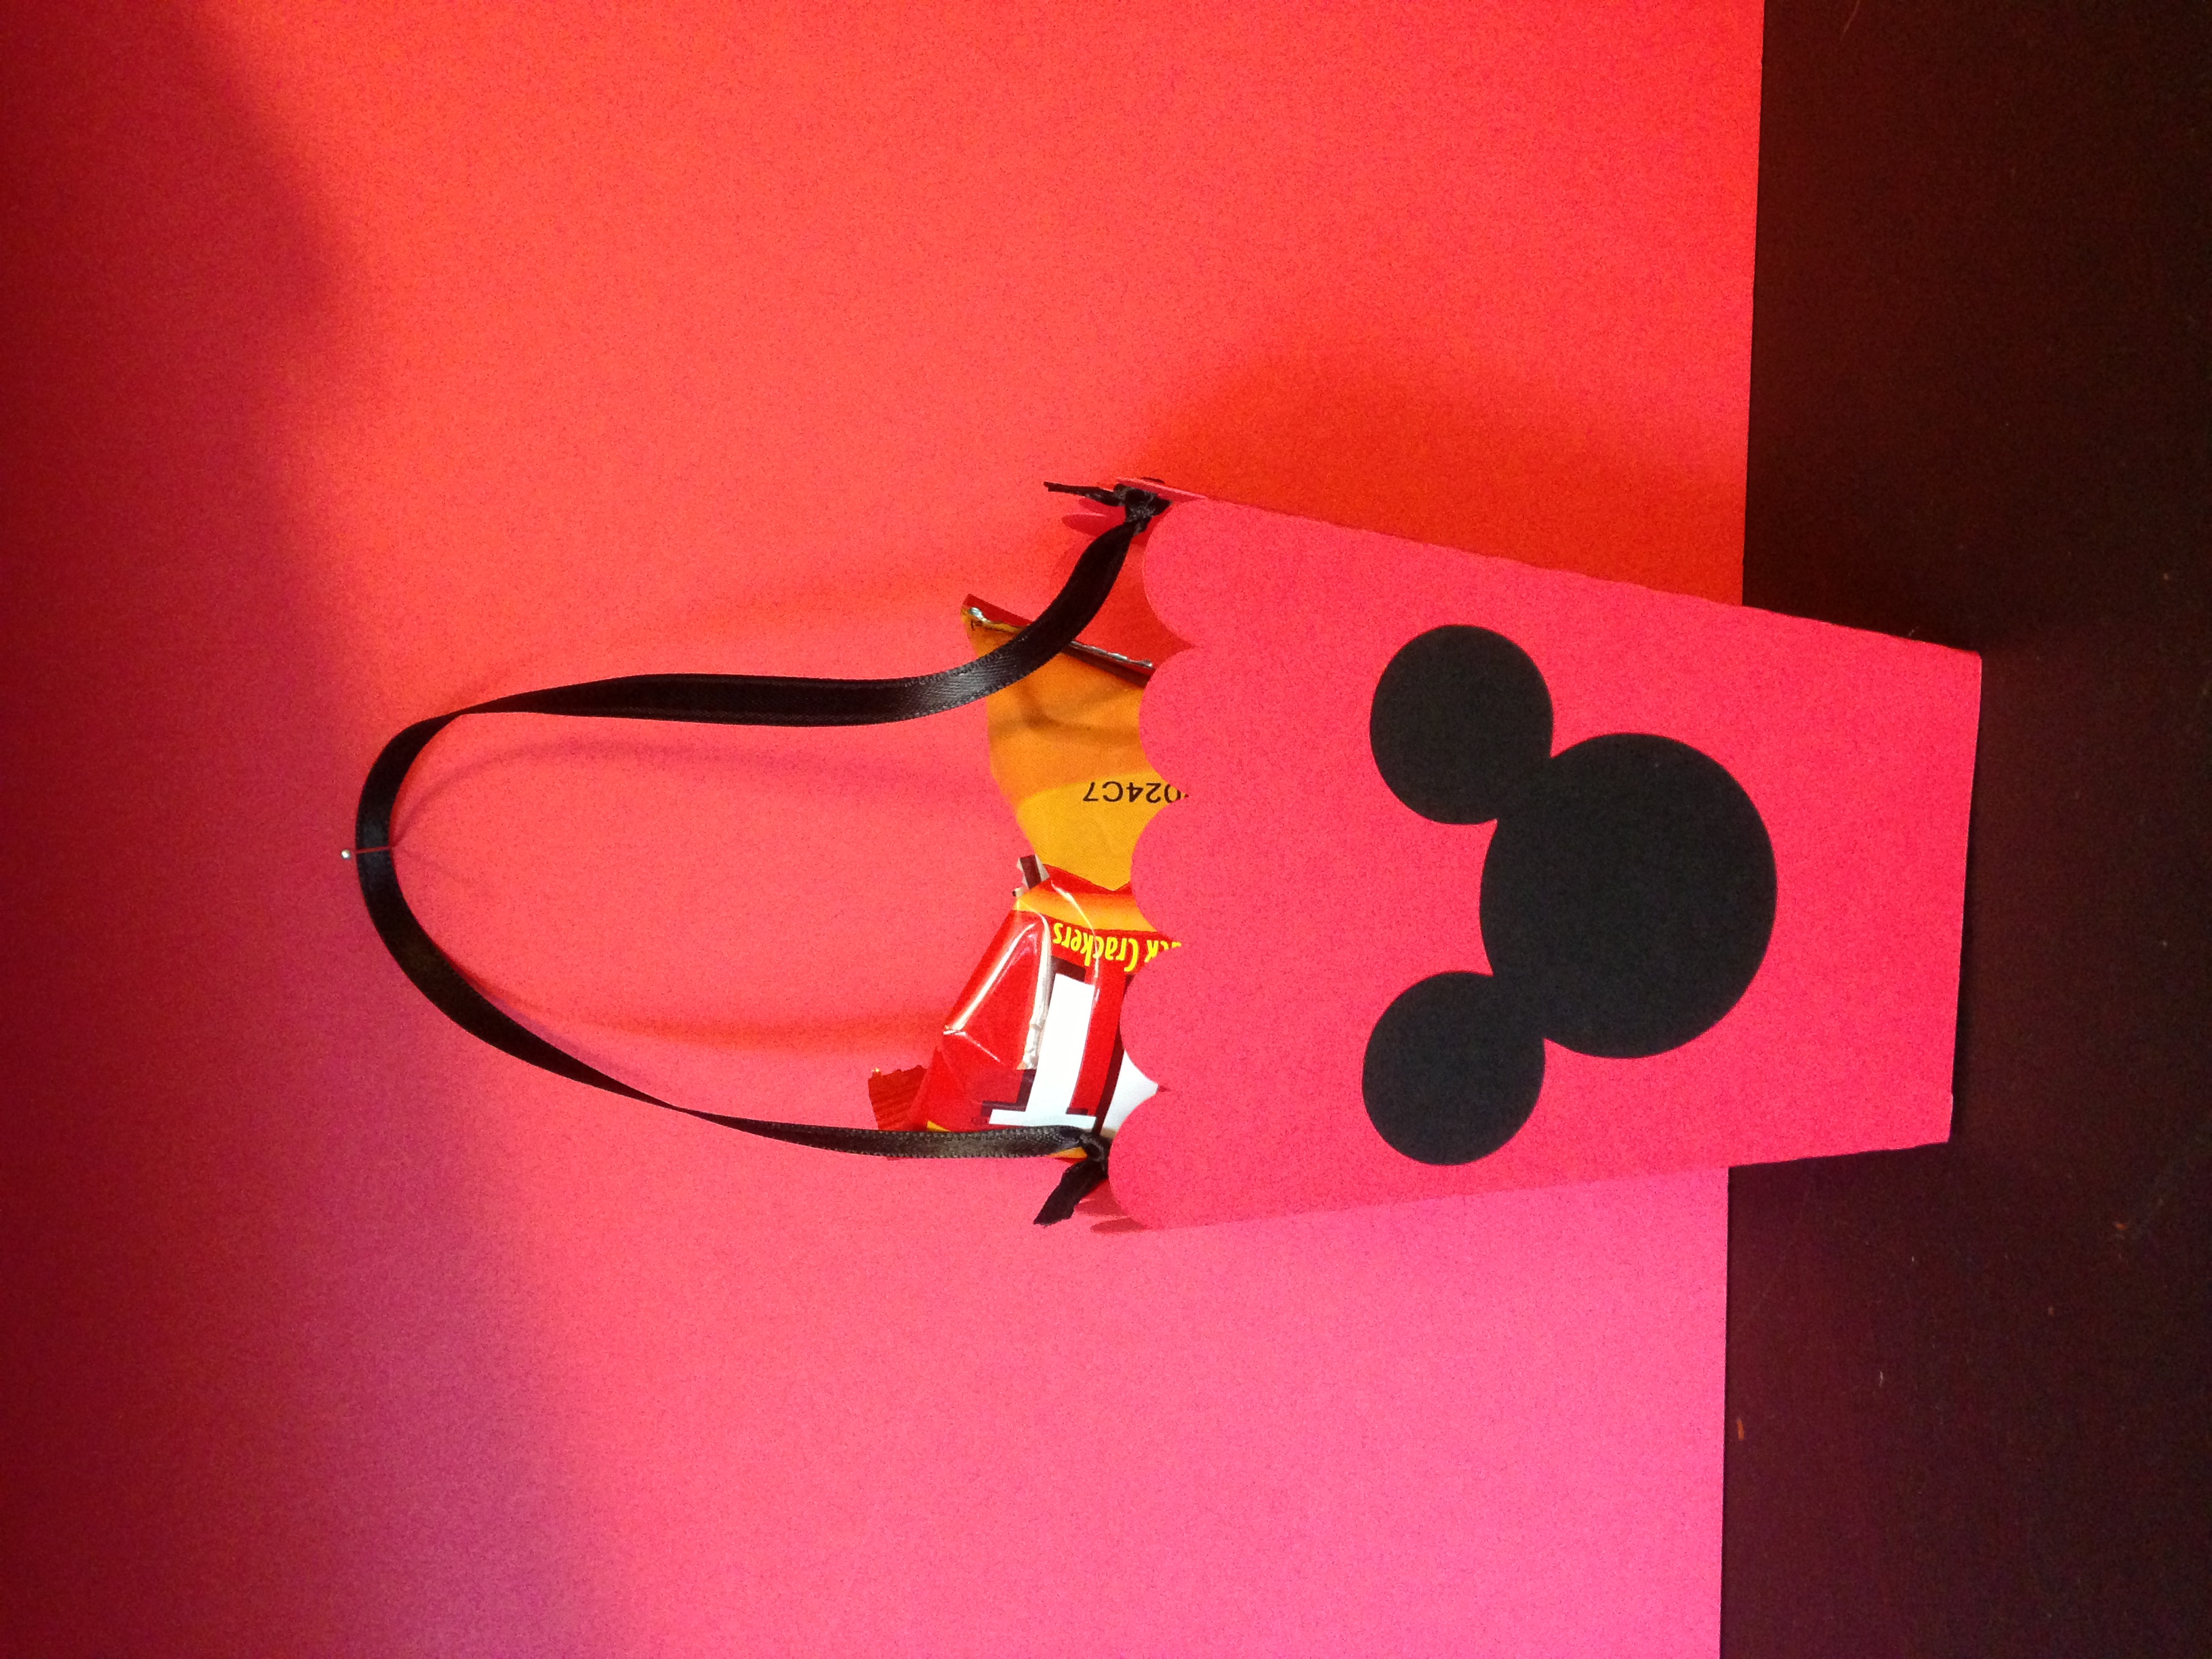
The good bags! I’m not big on goody bags so I usually make them sweet and simple. I made it from a popcorn template and added ribbon. Each goody bag had cheese it’s, mini fruit rollup, mini play-doh, and mini bubbles.
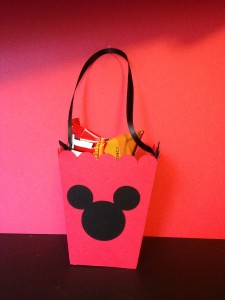
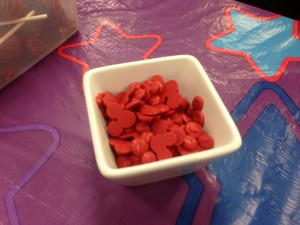
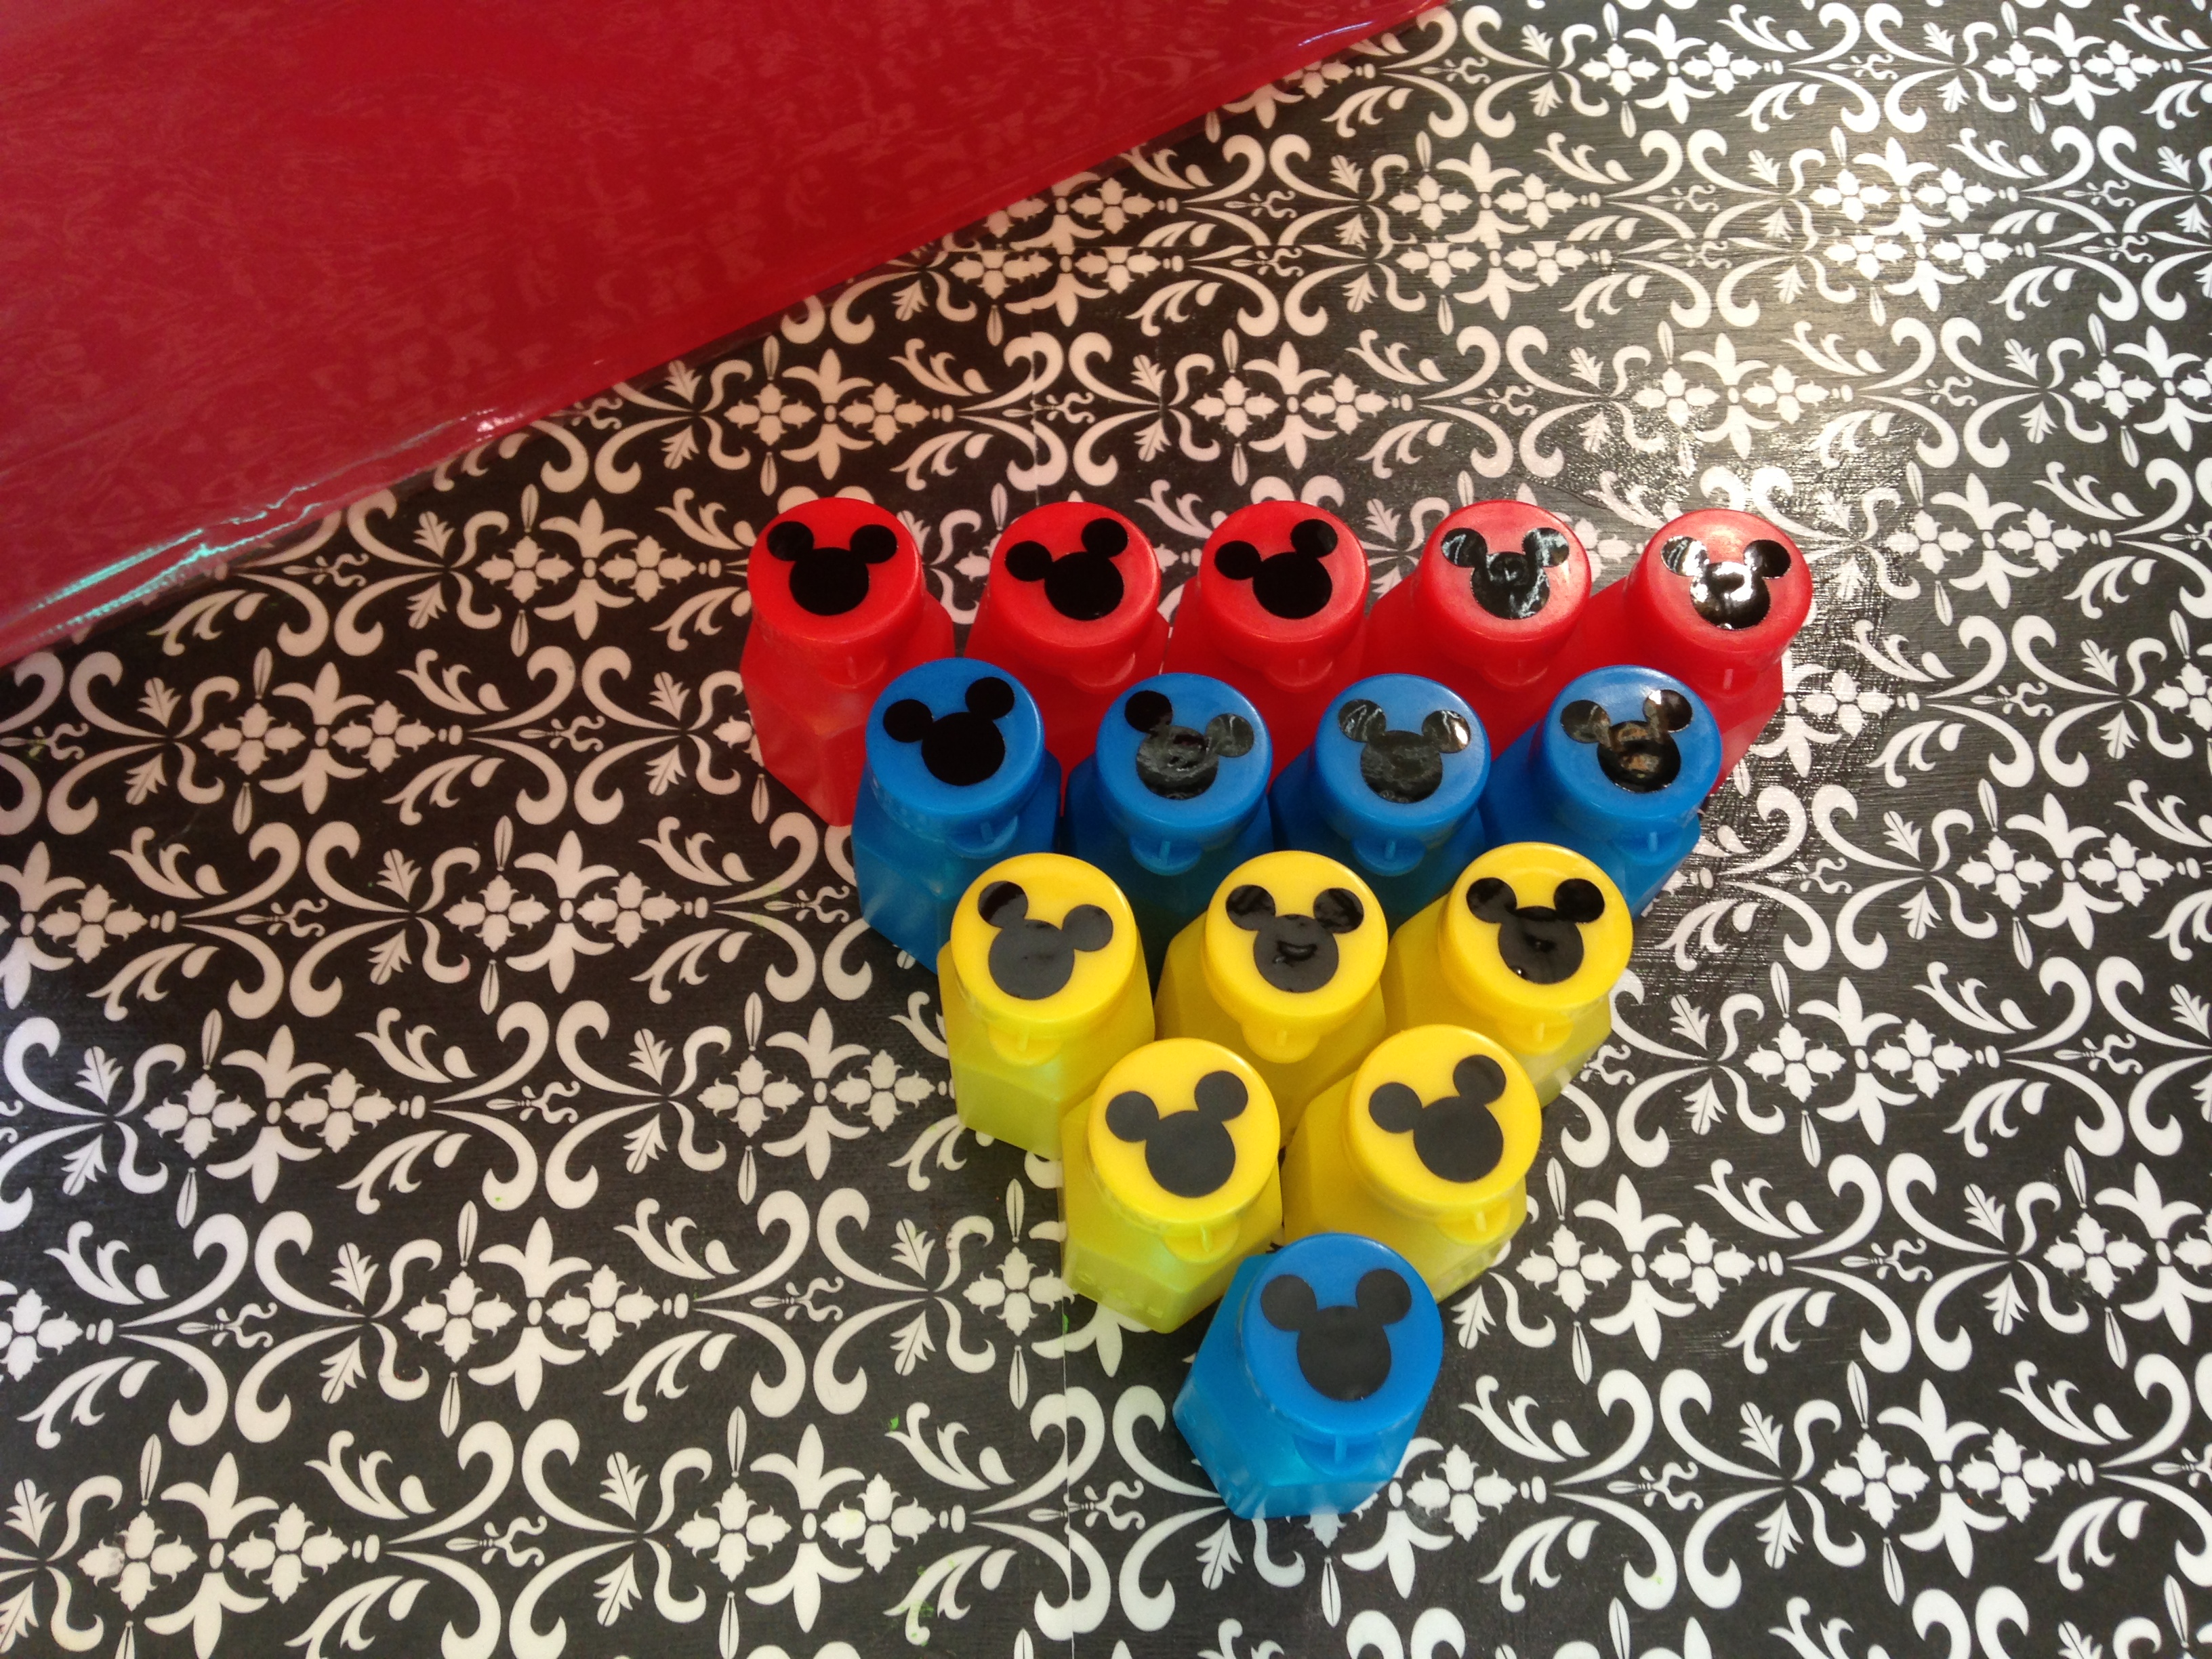
I had to add a mini Mickey Mouse head to each bubble bottle!
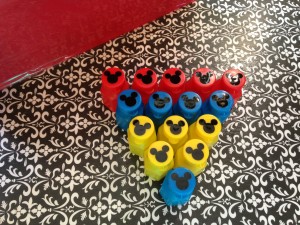
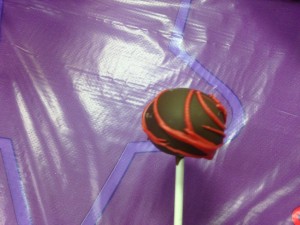
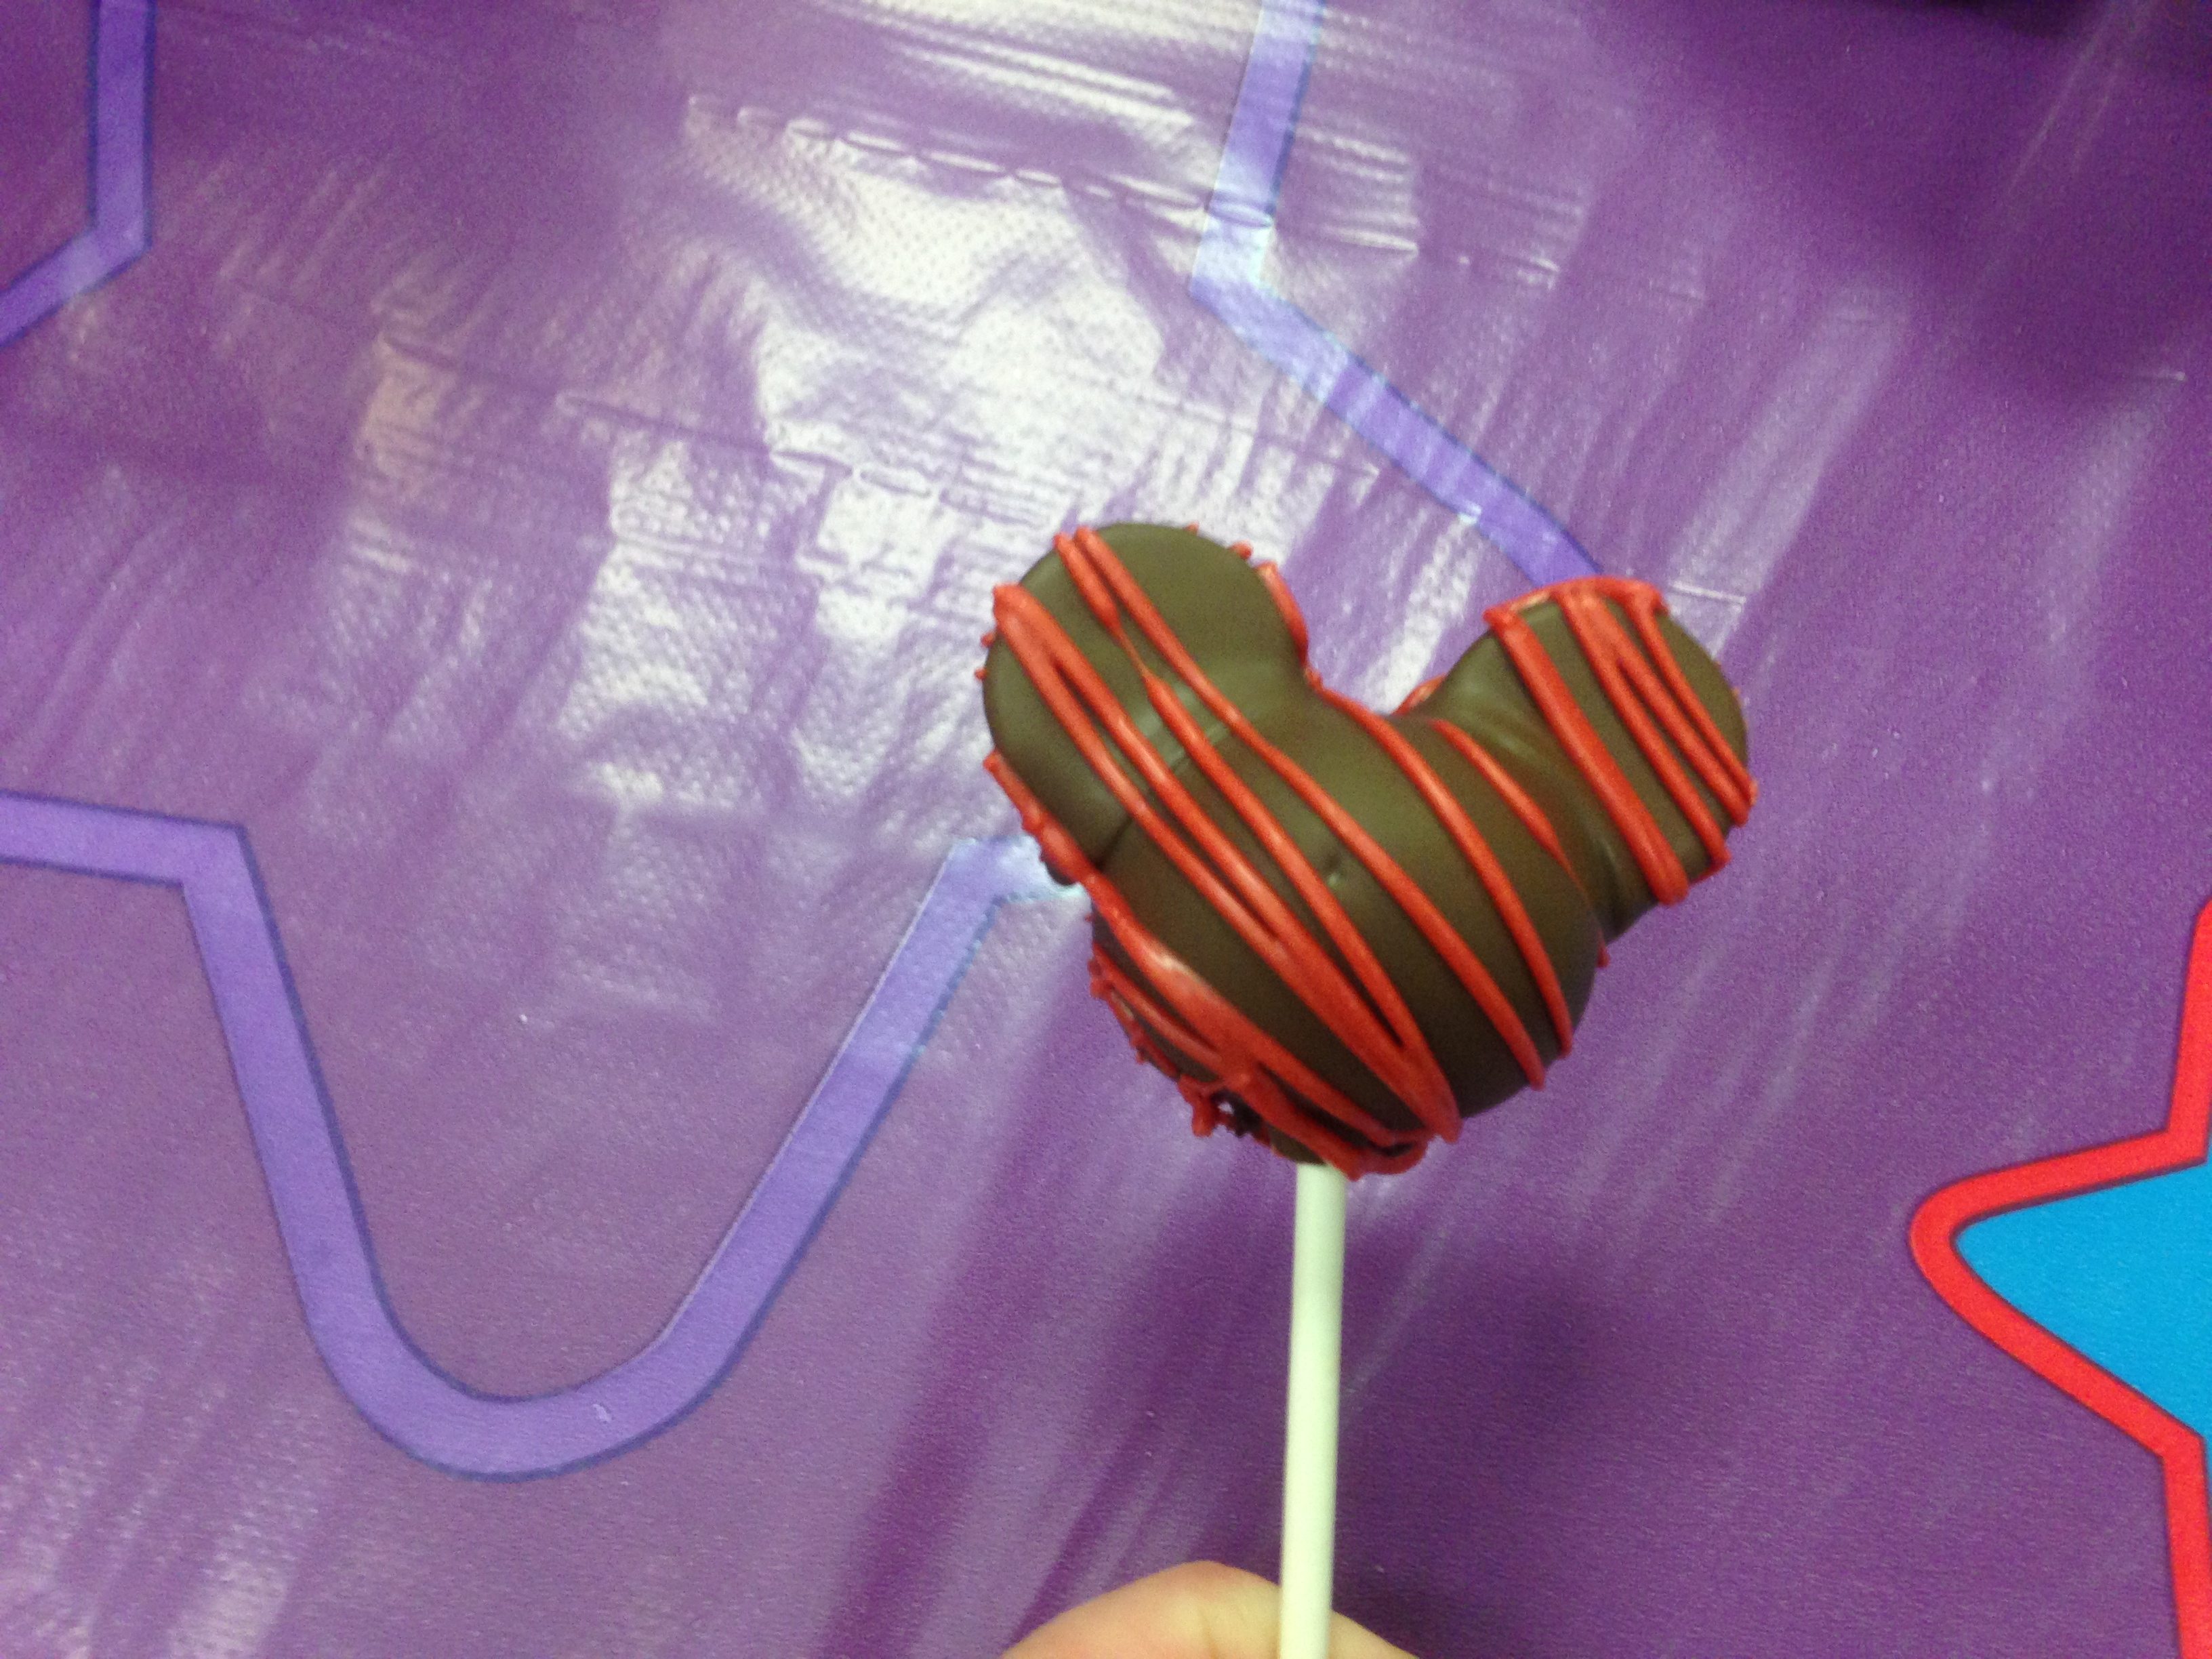
Mickey Mouse head cake pops!!!! I made the cake pops like normal and added mini oreo’s for the ears. I attached the ears with chocolate first and let that dry. Then I dipped the entire pop into the chocolate (well I use almond bark).
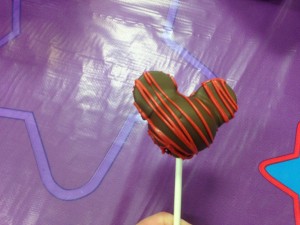
Because I wanted some really good looking cake pops I made a few regular.
I had leftover chocolate so I made mini Mickey Mouse heads as a treat to just have on the table…I came back with almost all of them…ah well.
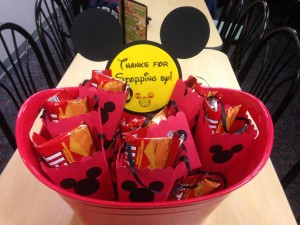
Here is my bucket of bags! I made the giant Mickey head and used the saying at the end of the show “Thanks for Stopping By”.
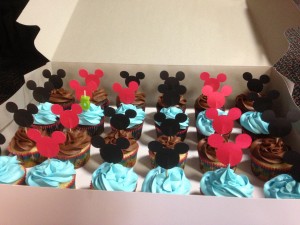
The cupcakes!!! Yup, I made them. Even made cupcake toppers!! I loved them and so did everyone else.
My little guy loved his party. I was glad it was over…..a month of party planning and I was sick of hearing about it, lol!! But it was definitely fun!
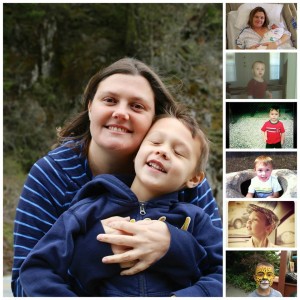
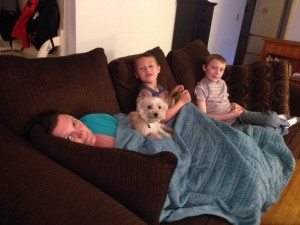
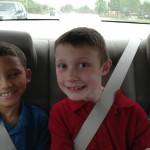
Here’s our post party coma coming on.
by jcastles | Apr 10, 2013 | Birthday Parties, Family, Moving, Uncategorized
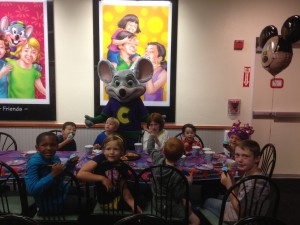
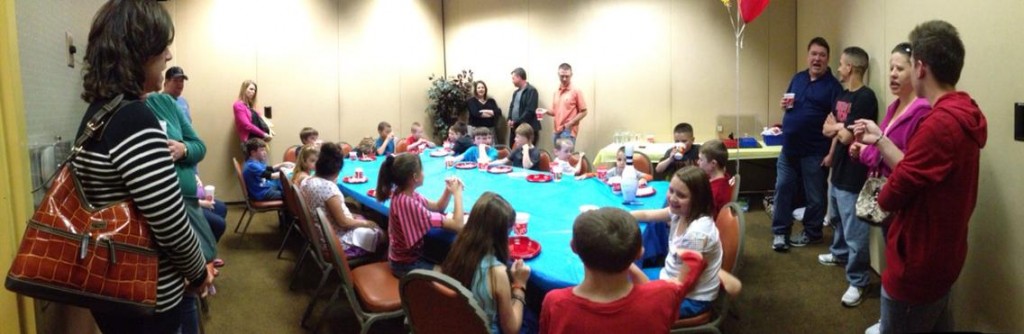
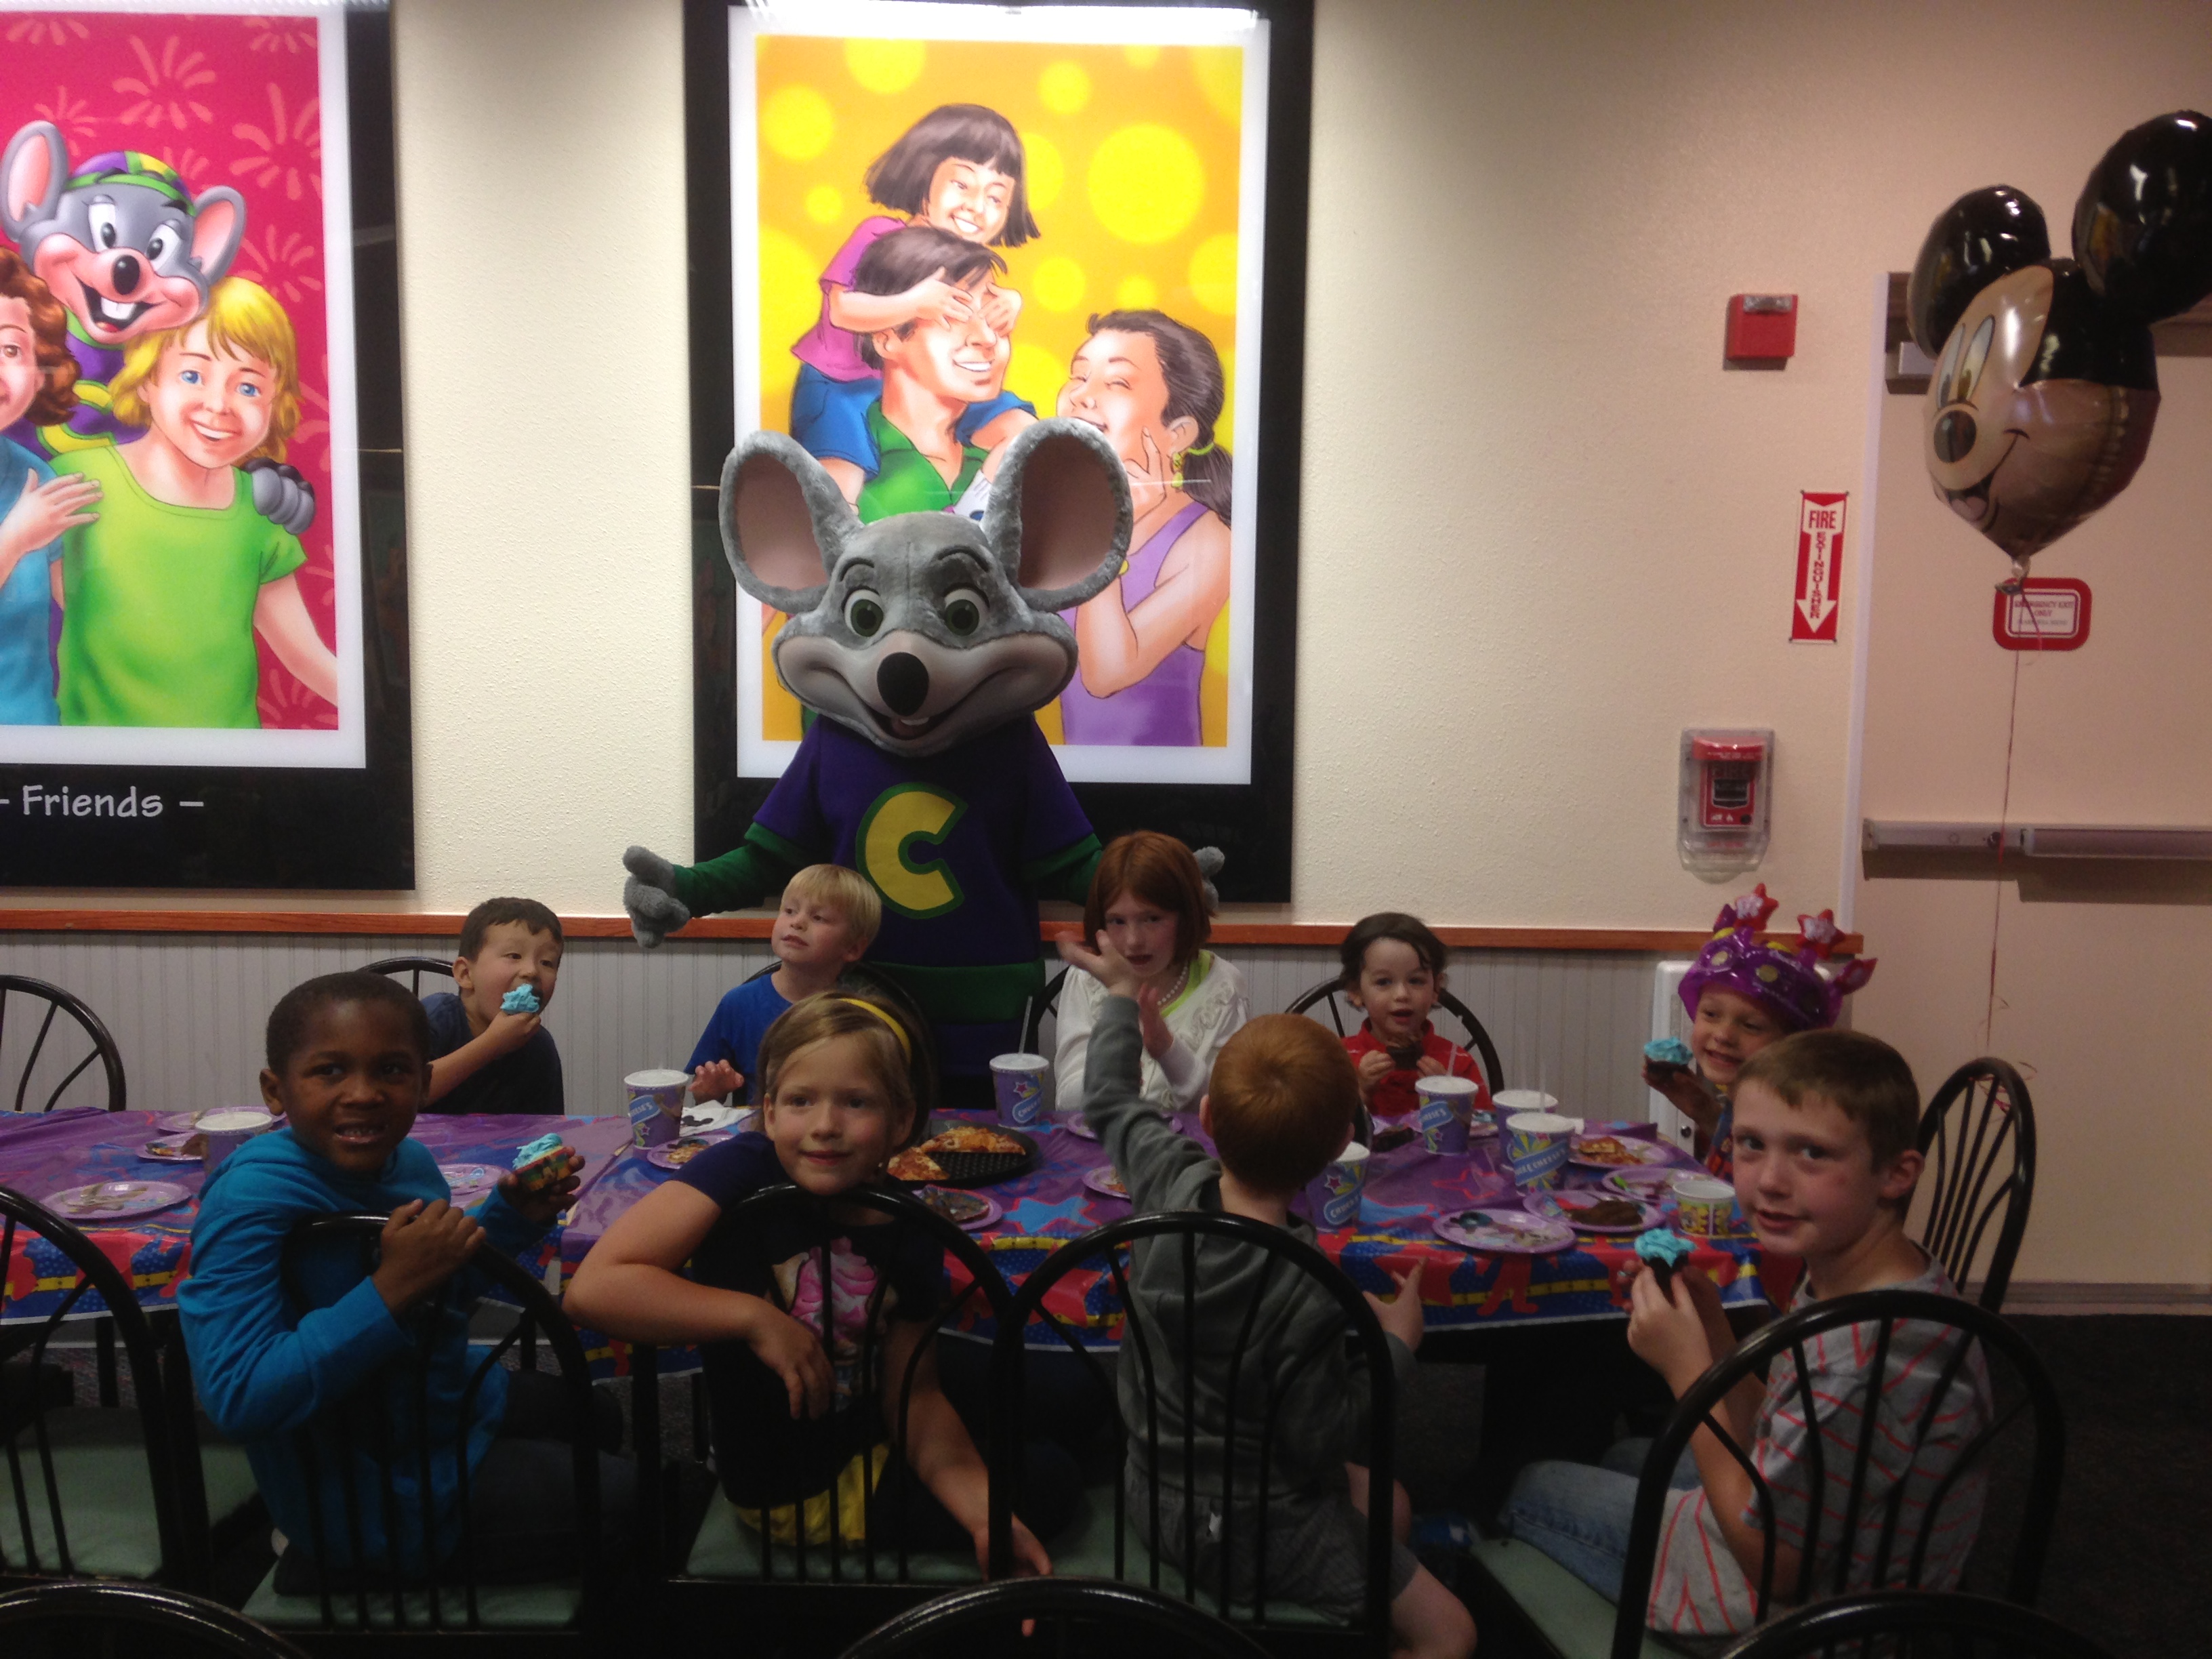
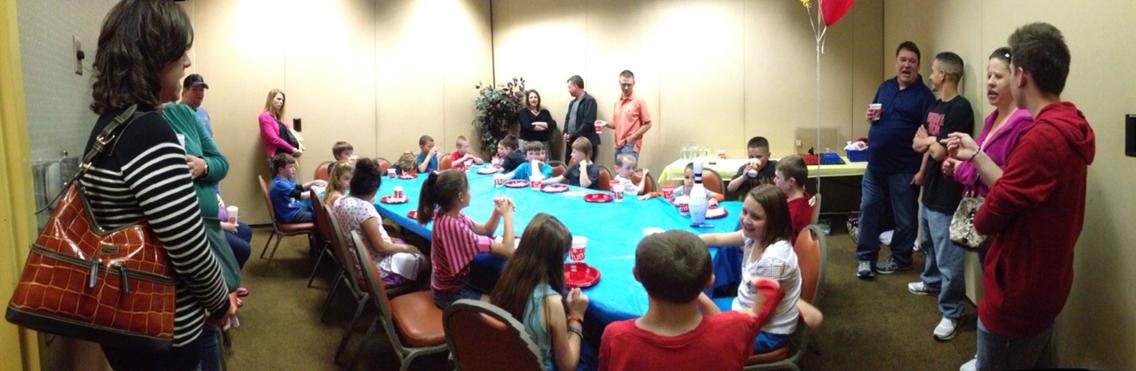
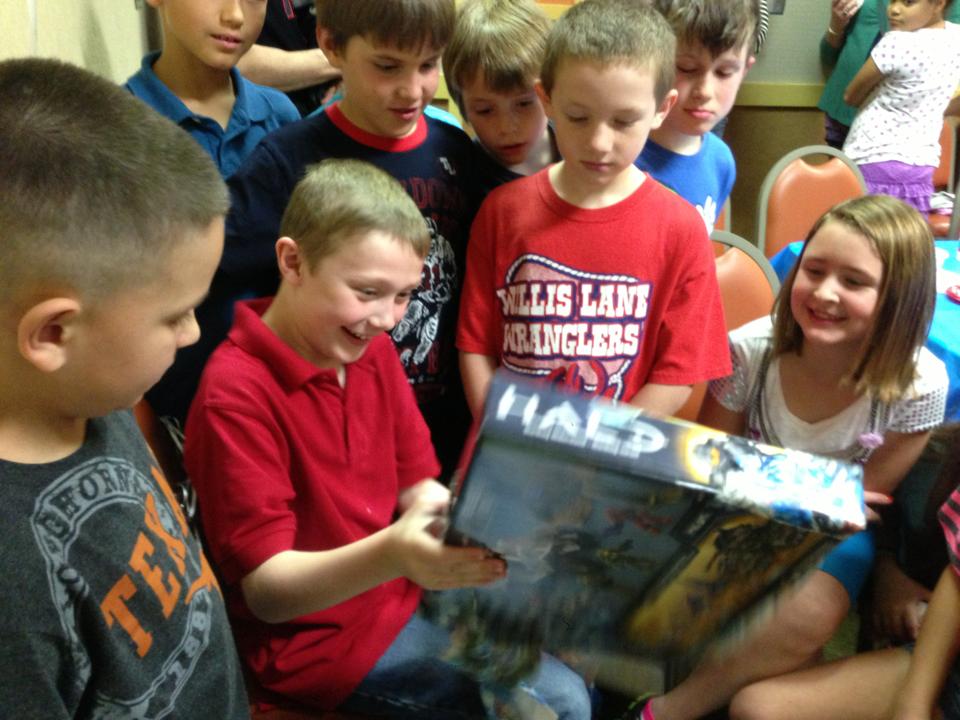
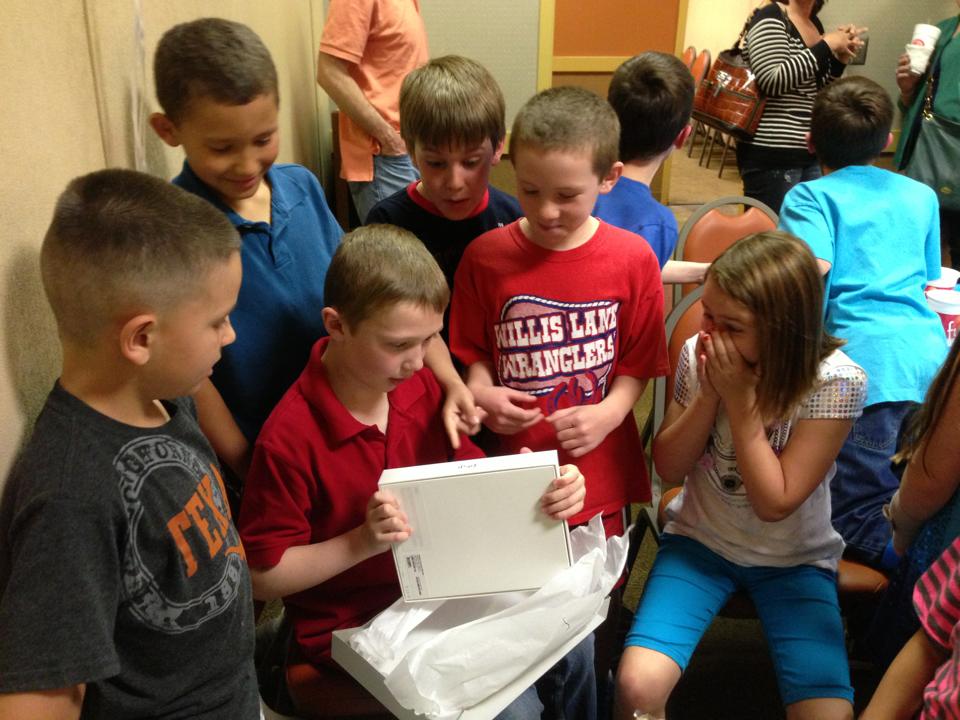
Yesterday was my son’s 9th birthday party. We had it a few weeks early so he could enjoy it with his friends since we’ll be in Seattle on his actual birthday. He had a blast!! We don’t normally spend as much as we did yesterday on a birthday party but he’d been wanting to go there for years so we finally bit the bullet and did it. Since the move is next week I’m so glad we opted to pay for everything. I’m WAY to stressed to be planning and baking.
But i’m starting to feel the sadness for my kiddo. This is the first year he’s made “real” friends! He’s already got friends that are all teary that he’s leaving and it’s not even happened yet. We feel so bad for him yet we know this is the best thing to do for our family.
I know we’ll all look back and know we made the right decision but it’s so hard to leave a life you’ve known for 33 years.

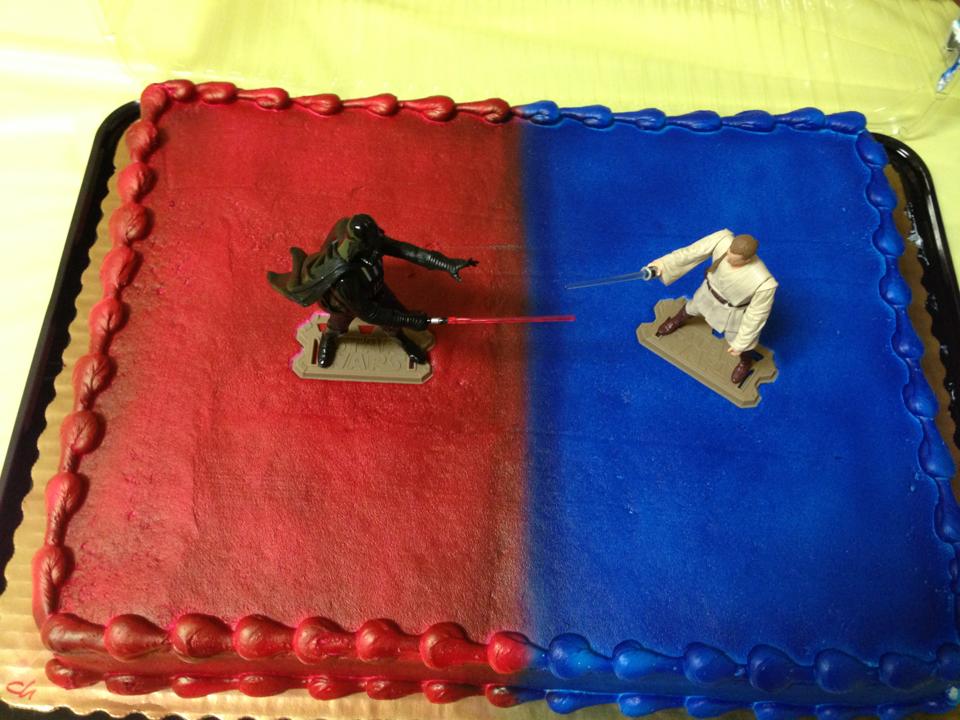
The Darkside won!
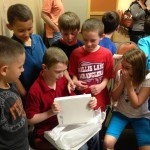
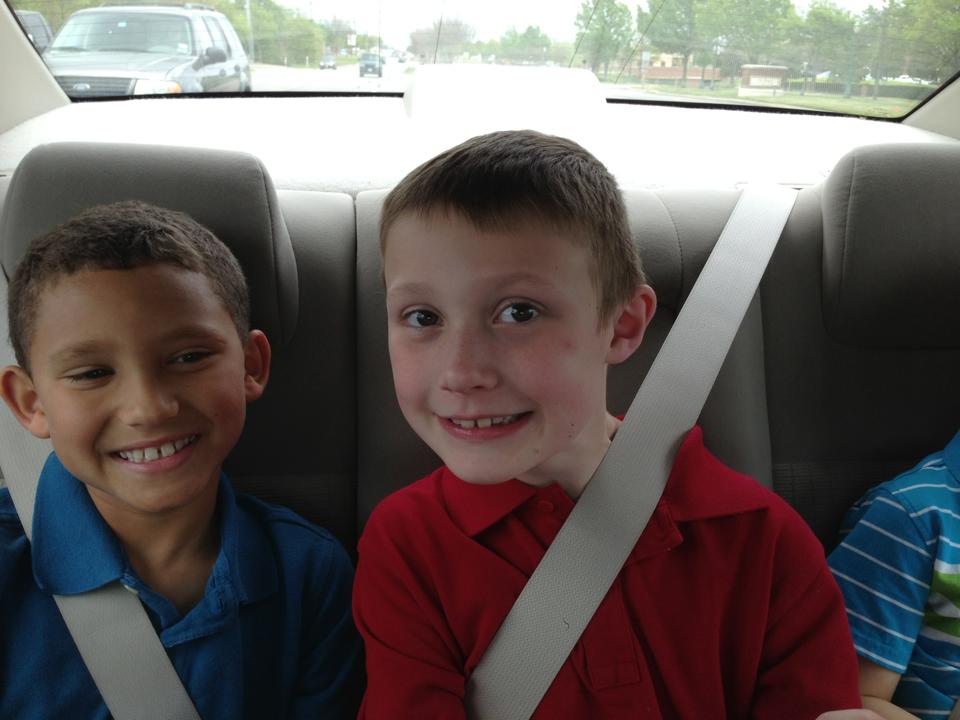
One of his best friends
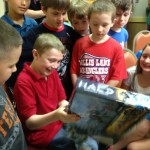
Their faces are awesome!
Another one of his best friends.
by jcastles | Jun 21, 2012 | Birthday Parties, Holiday Crafts, Uncategorized
So school is out and summer is here! We definitely know that summer is here in this house….our air conditioning has been out for a week!!! Luckily for most of the week it’s been out we had a little rain that cooled the temperature off a bit. So mostly we’ve been in the low 80’s but we’re quickly climbing back into the mid 90’s! We do have 2 window ac units and a stand alone unit that we’ve hooked up so the living room and bedrooms are cool at night and tolerable during the day.
So back to the popsicle parties! Since my youngest son is 3 and most of his classmates are young I scheduled his popsicle party for the morning. And I had a genius idea to schedule my middle son’s popsicle party for the same day but in the afternoon. Maybe it was the heat since we had no air or the outside temp being in the 90’s since 10am that day but yah….I don’t think i’ll ever do them the same day agian!
Here is a pic of a generic popsicle invitation. I created the invite in photoshop (just learning how to use it). Anyway, I used a popsicle coloring page template, added my text, hot glued a popsicle stick on the back and used a 1.5 inch scallop craft punch to make the bite look. For my real invitations I used some super cute cardstock from Michaels. It was a pale yellow, seafoam green, and a blue…they had embossed polka dots on them too. But this was my test paper…paper I already had at home that I just don’t use.

To get the template email me at messijessimail.com (i’ll post the template when I figure out how to get a psd uploaded!)
Here are pictures from Jayson’s (youngest son) party!


And this is my middle son’s popsicle party!


Overall everyone had tons of fun! I loved the smiles on my boys faces!
.
by jcastles | May 4, 2012 | Birthday Parties, Family, Recipes
Well…I dunno if it was the best but it sure was for me and everyone that came! Here’s a snapshot of the items we made.


The cupcakes are not in the ninja colors my son wanted….but it’s so hard to get red frosting!! So if he wanted frosted cupcakes he was getting what I made, lol!
I did make the white buttercream frosting but I had a little trouble with the chocolate frosting this time. Which is weird since I’ve made it before with no problem. But this time it was so gritty. I tried all the tips online that I could find on how to reduce or fix the problem but nothing worked. I eventually had to toss it. I think I know what the problem was…..I started out using one brand of powdered sugar and finished with another. It was the Target brand powdered sugar….even in the bag is was so gritty. I tossed it too! So at 11 o’clock at night I wound up doing what I thought was best….canned frosting!! I know I know!! But I had everything on such a tight schedule that I didn’t have time to mess around with it and well…it was for a kids party…not like they really care. It was frosted and yummy! Sure I could have started over but I had already tossed a batch of red buttercream…that looked more mauve and speckley than the elmo red I was going for.
Each kiddo got to take home a sword, headband, sushi, and popcorn (and some snuck home the ninja stars–that’s ok though). They all loved it too!
Ok…so now the good party stuff!

My hubbs designed the invite (I want to say i’m sorry for all my input but they turned out fantastic!). Then we sent it to Walmart and had them printed….which I love because it’s WAY cheaper to do that way! We spent under $7 on 35 invites! But the real money was spent on the envelopes….$10 at Michaels!! Still not bad (I used my 20% off coupon–get their app and become a rewards member to get their coupons). We could have gone with plain white generic envelopes but this was a cool party that needed cool black envelopes.
The thank you card is being created now so I don’t have an image of that but it’s going to match the invite.
For weeks I’d looked online and got lots of good ideas for stuff to make for the party. We wanted swords, chinese stars, the sushi snacks, pinata, chinese lanterns…the whole deal! So we started planning.

We had everything planned down to the minute…and of course that didn’t go down the way it was suppose to. We let the kids play on the playground as they arrived until the pizza arrived. It was suppose to be about 30 min of free play there..wound up being 45 minutes but I don’t think they really cared. Once the pizza got there we ate lunch then cupcakes. It was so windy out that I couldn’t even have a candle (or the decorations I’d bought–grrr, I had some cool chinese lanterns that I searched and searched for too) so I told my son to pretend to blow the candle out. He took me seriously and as he leaned in he got a cupcake smooshed in his face…..total accident!! Seriously it was! I was thinking about doing it though. After food we played some ole fashioned games!


Our first game was Capture the Ninja. We broke the kids into groups of 2 and gave them 2 rolls of crepe paper (dollar tree—2 for $1!!). They had so much fun! Then we made a game of picking up all the paper and throwing it away, lol!!


Our second game was the ninja star throw. We found some stars we wanted to order on Amazon but we waited WAY too long to order them so I said I’m sure I can make them outta duct tape. Turns out you can! But I couldn’t….at first. My stepson is a duct tape guru. Seriously he is! He made a duct tape suit once…yah, he’s awesome! So I said here’s the duct tape and here are the instructions, show me. Nope, still couldn’t understand it. So he made me 4 (all the time we had that day before he had to go to work). So while he was at work I tried and tried and tried. And finally like they always say…practice makes perfect….I had done it! I was a ninja…a true duct tape ninja star maker! So I made 8 more! Yah they’re awesome! This is the tutorial we used.
To play the game we used a hula hoop we got at The Dollar Tree, duct taped it to a large wooden dowel and spray painted it all silver….oh and our grass in the front yard, lol. So they stood a good distance and each kiddo had 3 turns to toss a star through the hoop. But we were going to let them until they got it through. Most got it through the first time so I’m guessing it wasn’t as hard of a game as we thought. Once they got it through they completed ninja training and received their sword and were allowed to battle.


Our last game was the Ninja Battle. We loved the paint stick idea for the swords (paint silver use duct tape for the handle) but when Home Depot was out of paint sticks (we even offered to pay for them hoping they’d find a stash, lol) we decided to go another route. We bought eight 8 foot foam pipe covers and cut down to sword size. Each made 3. Then I took black duct tape and wrapped 3 pieces around one end to make a handle. We really liked it in the end because they are much safer and the kids could actually use them at the party rather than a wooden sword no one would let them use…ever!
The sushi was very fun and easy! Everyone loved it. I got the tutorial here. Seriously so easy. My concern was how the fruit rollup was going to stick to itself but it’s pretty sticky and it stuck to itself with no problem. I actually made them the day before and tied them in lil bags. I was worried they’d dry out so I didn’t use the twist tie show above, I changed it after the pic. I used regular ole gift wrap ribbon and tied them real tight. We had no issues with them being dry. I actually ate one several days after the party and they were still super yummy!
I really loved this party! It was so much fun! All the kids and adults really enjoyed themselves….even ole Aunt Kim…I won’t post the pic unless she tells me I can but she’s one awesome ninja aunt!
.
by jcastles | Mar 9, 2012 | Birthday Parties, Family
Well I turned 32 the other day……it was a normal day, lol! Nah it was a little different. My hubbs had to work late so we decided to celebrate it the next day.
To start my actual birthday day off my husband got up early and made a trip to Starbucks (for my free coffee–sign up and get free coffee on your bday too!)!
Mmmmmm….then he left for work shortly after and I didn’t see him until after 9 that night. 🙁

So to start my actual birthday my husband brought home my FAVORITE cupcakes!!


Looks delish right?!! Well they were! My hubbs made sure I got 3 and everyone else got 1 cupcake (well except Jayson (my 3 yr old), he doesn’t eat cake—is he even related to me?!!)
So before we went to dinner I scarfed down a black and white….I needed it. It was a hell of a stressful day for me. So then we went to dinner….Casa Rita’s Mexican Grill. I wasn’t a fan but the drinks were good. And one kiddo had fun, lol!


But….it must all come to an end as everything eventually does. Sending thanks to my family for another wonderful Birthday!! Here’s 1 last YUMMY look…..btw, I still have this one. There’s no way I could eat 3 of these in 1 day!


.
by jcastles | Feb 29, 2012 | Birthday Parties
For my son’s 2nd and 3rd birthday we gave him a YGG Party. He loves YGG soooo much (well did–last year, lol). So for his 2nd birthday we didn’t do much decor but the cake was AWESOME!! We found an image online, blew it up, added the number 2 and sent it to a local bakery. We spent so much money on that darn thing and we threw half of it away. It just wasn’t as good as my normal bakery but geeeee I thought it was so far that particular day. Lesson learned…drive to the damn bakery! But it was still a beautiful cake….$80 worth!

We had a small party. Just family and a few friends. Here in Texas it was still warm that early September day so we were able to get some last minute splash time in!

For his 3rd Birthday I had to get a little more creative….well since i’ve done it before it had to be better right?! Well of course I googled…and I even pinterested (yup, made that word up just now!).

I LOVED the banner on this site so much I emailed her and she had sold hers on ebay recently but was sooooo kind she told me how she made it! Our banner, we actually loved it so much we made 2!!

I saw these chocolate covered pretzels for a snack and didn’t want to do all the characters so I stuck with Muno only. EVERYONE loved them and OMG they were actually tasty. I’d never had chocolate covered pretzels like this before. They were very simple to make too! I melted wiltons red candy wafers in a tall cup, dipped and swirled the rods (tap excess off) and applied an eye (found a pkg at walmart el super cheapo!) while the melted chocolate was still wet, and let dry on wax paper.

Then I found these cutouts on the YGG friends website. I printed on cardstock and cut out and just taped to our tile fireplace. And of course streamers!


The cupcakes and cupcake stand! I didn’t have a ton of extra cash to just buy the cake stand I wanted so I got this $5 cardboard one and mod podged scrapbook paper and ribbon in YGG colors and used scrapbooking sticker decals for the Happy Birthday and balloons. Probably cost me about $7. For the cupcakes I had Kroger make me 12 chocolate and 12 vanilla cupcakes with 2 different colors of green frosting (about $16–hell of a lot better than that darn $80 cake the year before). Then I made the Brobee horns out of leftover candy wafers from the Muno sticks. With all the decorating I just didn’t have time to make the cupcakes…I know bad mom!


I had to have a little bit of character wrapping paper going on too! Easy peasy! Green wrapping paper and the same images from the banner…..cut and tape!


Now for one of the BEST things in my opinion! A life size DJ Lance Rock as soon as you walk in the door! My husband worked with a lady that just so happened to have one (weird I know!). I got helium balloons and clipped them to his hand and gave them away along with their party favor bag (bubbles and chalk) when they left.

I LOVED this party!! So simple, so easy, and sooooo totally GABBA!!! We all had a blast! Especially this lil sweet birthday boy!
 .
.


Recent Comments