
There are several tutorials showing how to make your elf posable. Some require sewing skills. Some require snipping but no sewing. Well my instructions are as simple as can be and require no sewing or snipping of your elf. I have 2 options as well, my version and the hubbs version.
Option 1 (my version)
The simple 5 minute instructions.
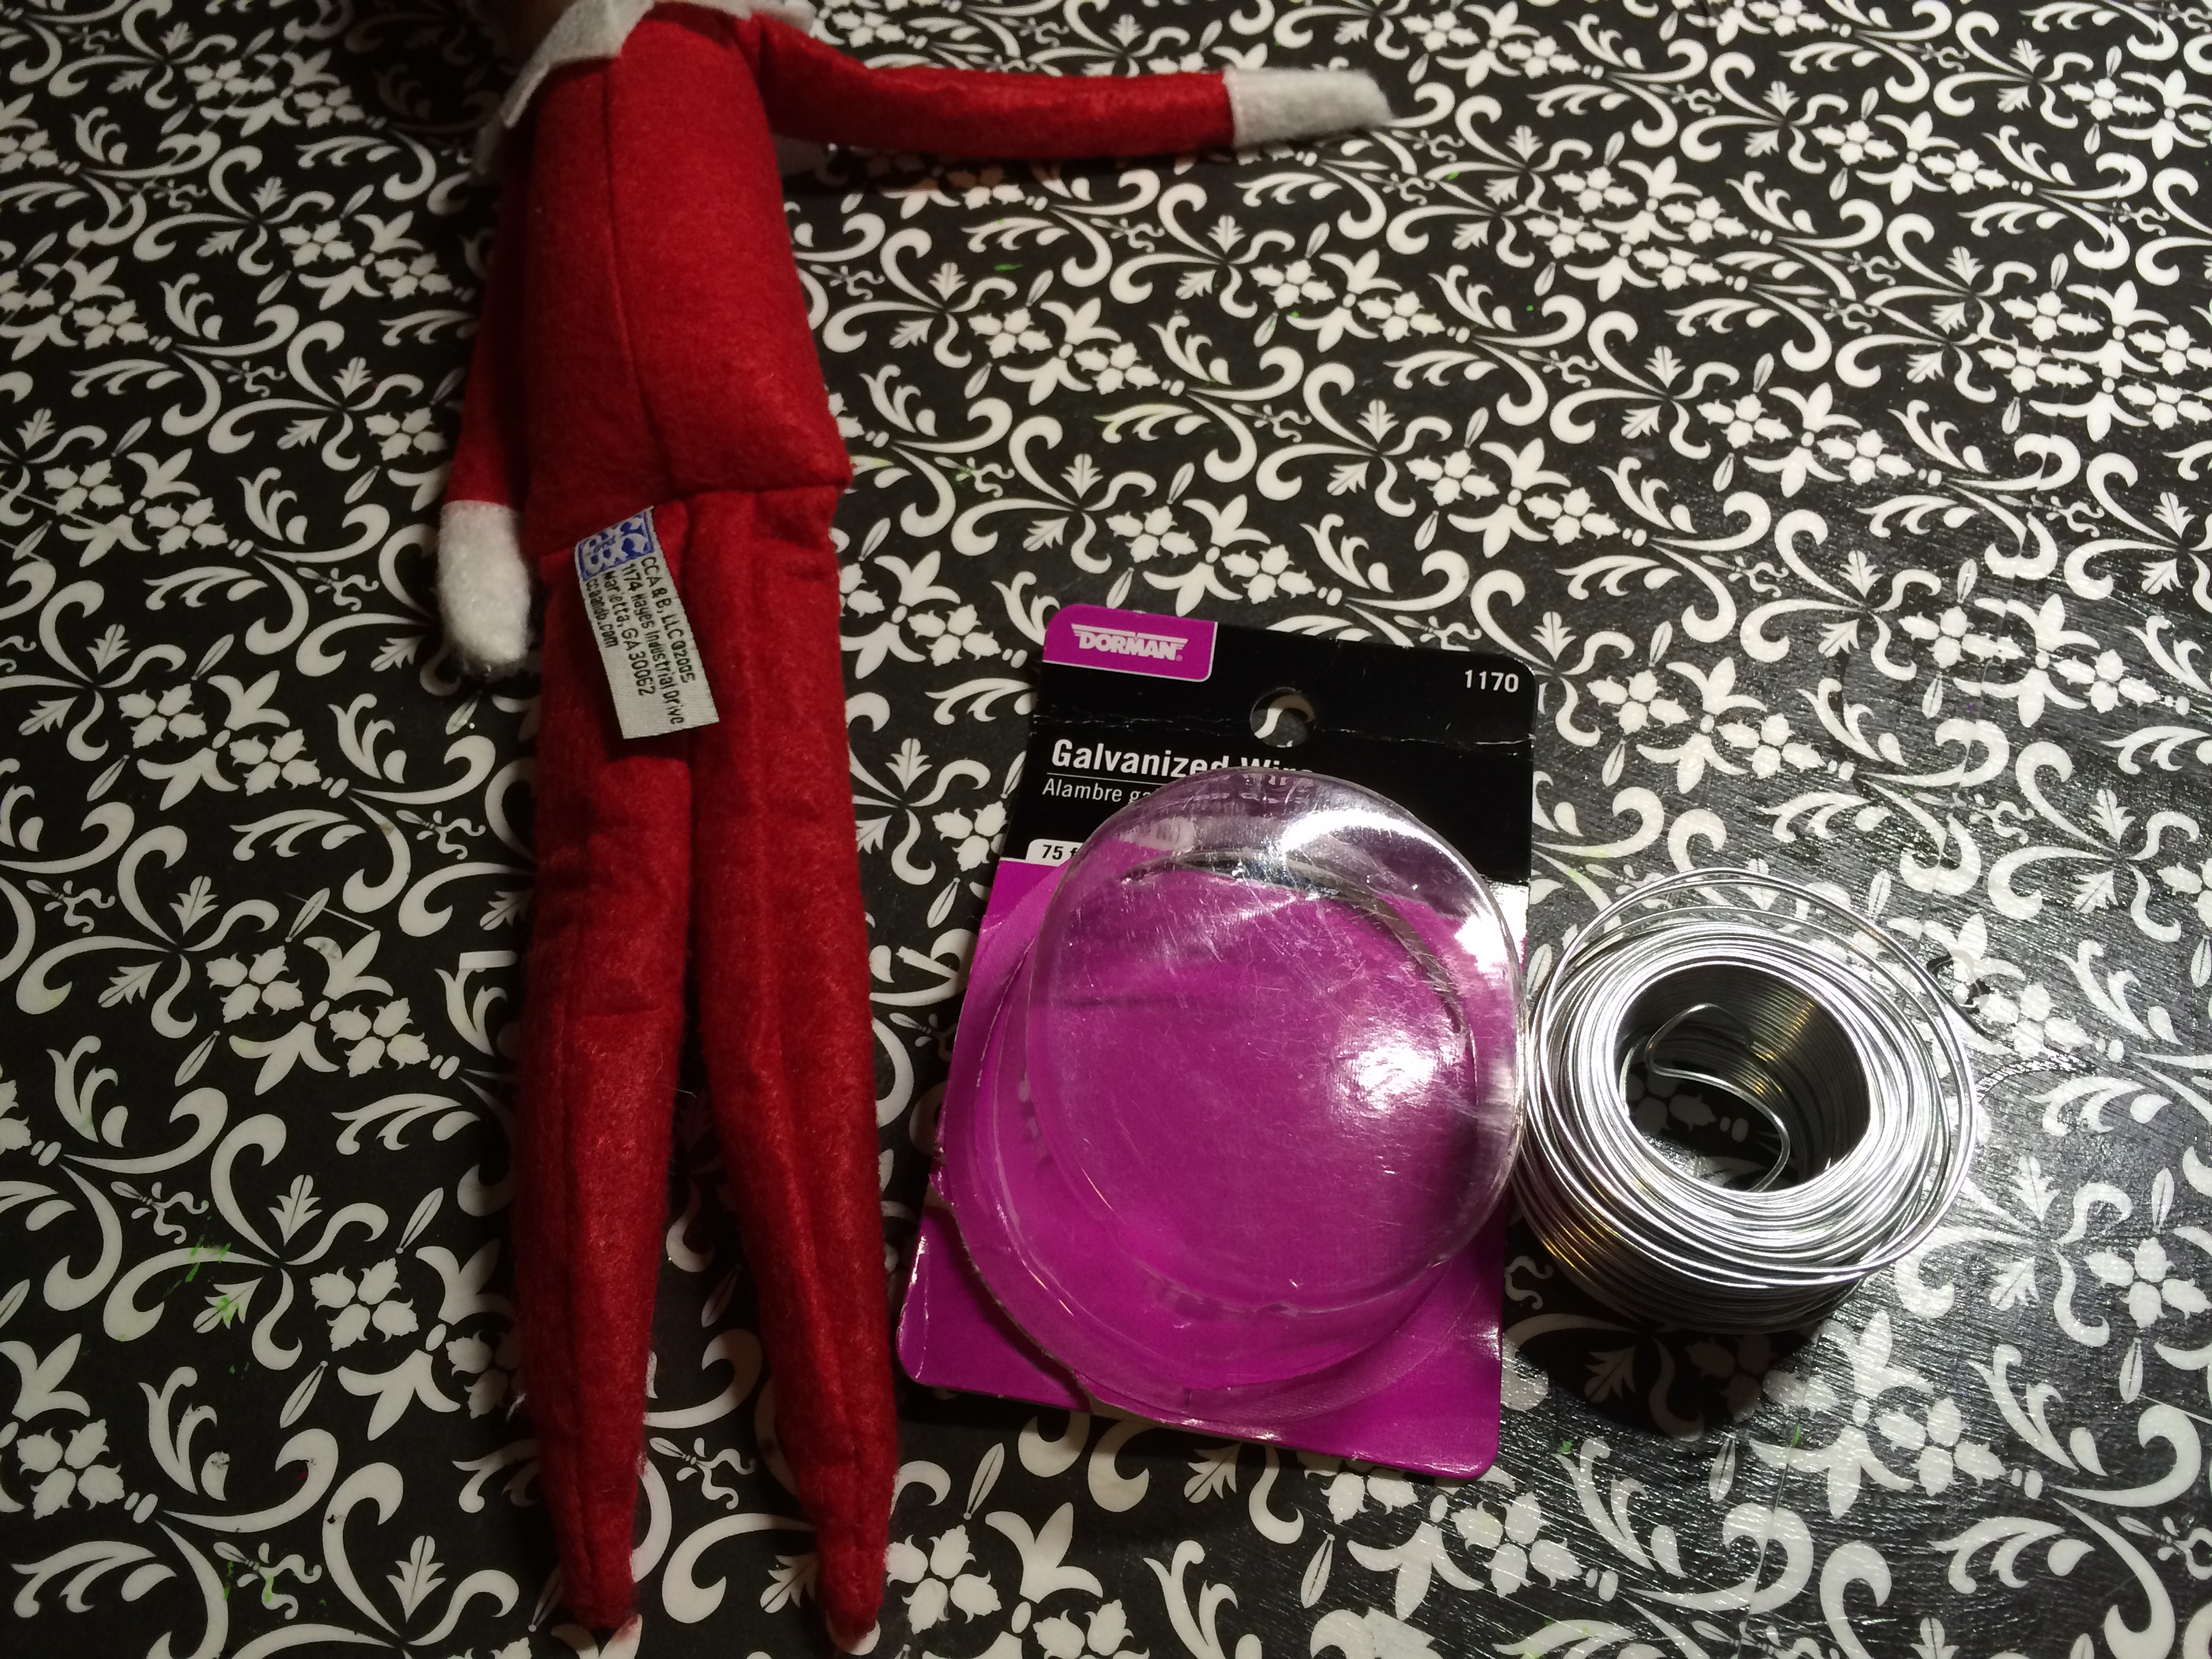
You’ll need: wire (got mine at walmart in the DIY section-less than $2). Your elf. Wire cutters.
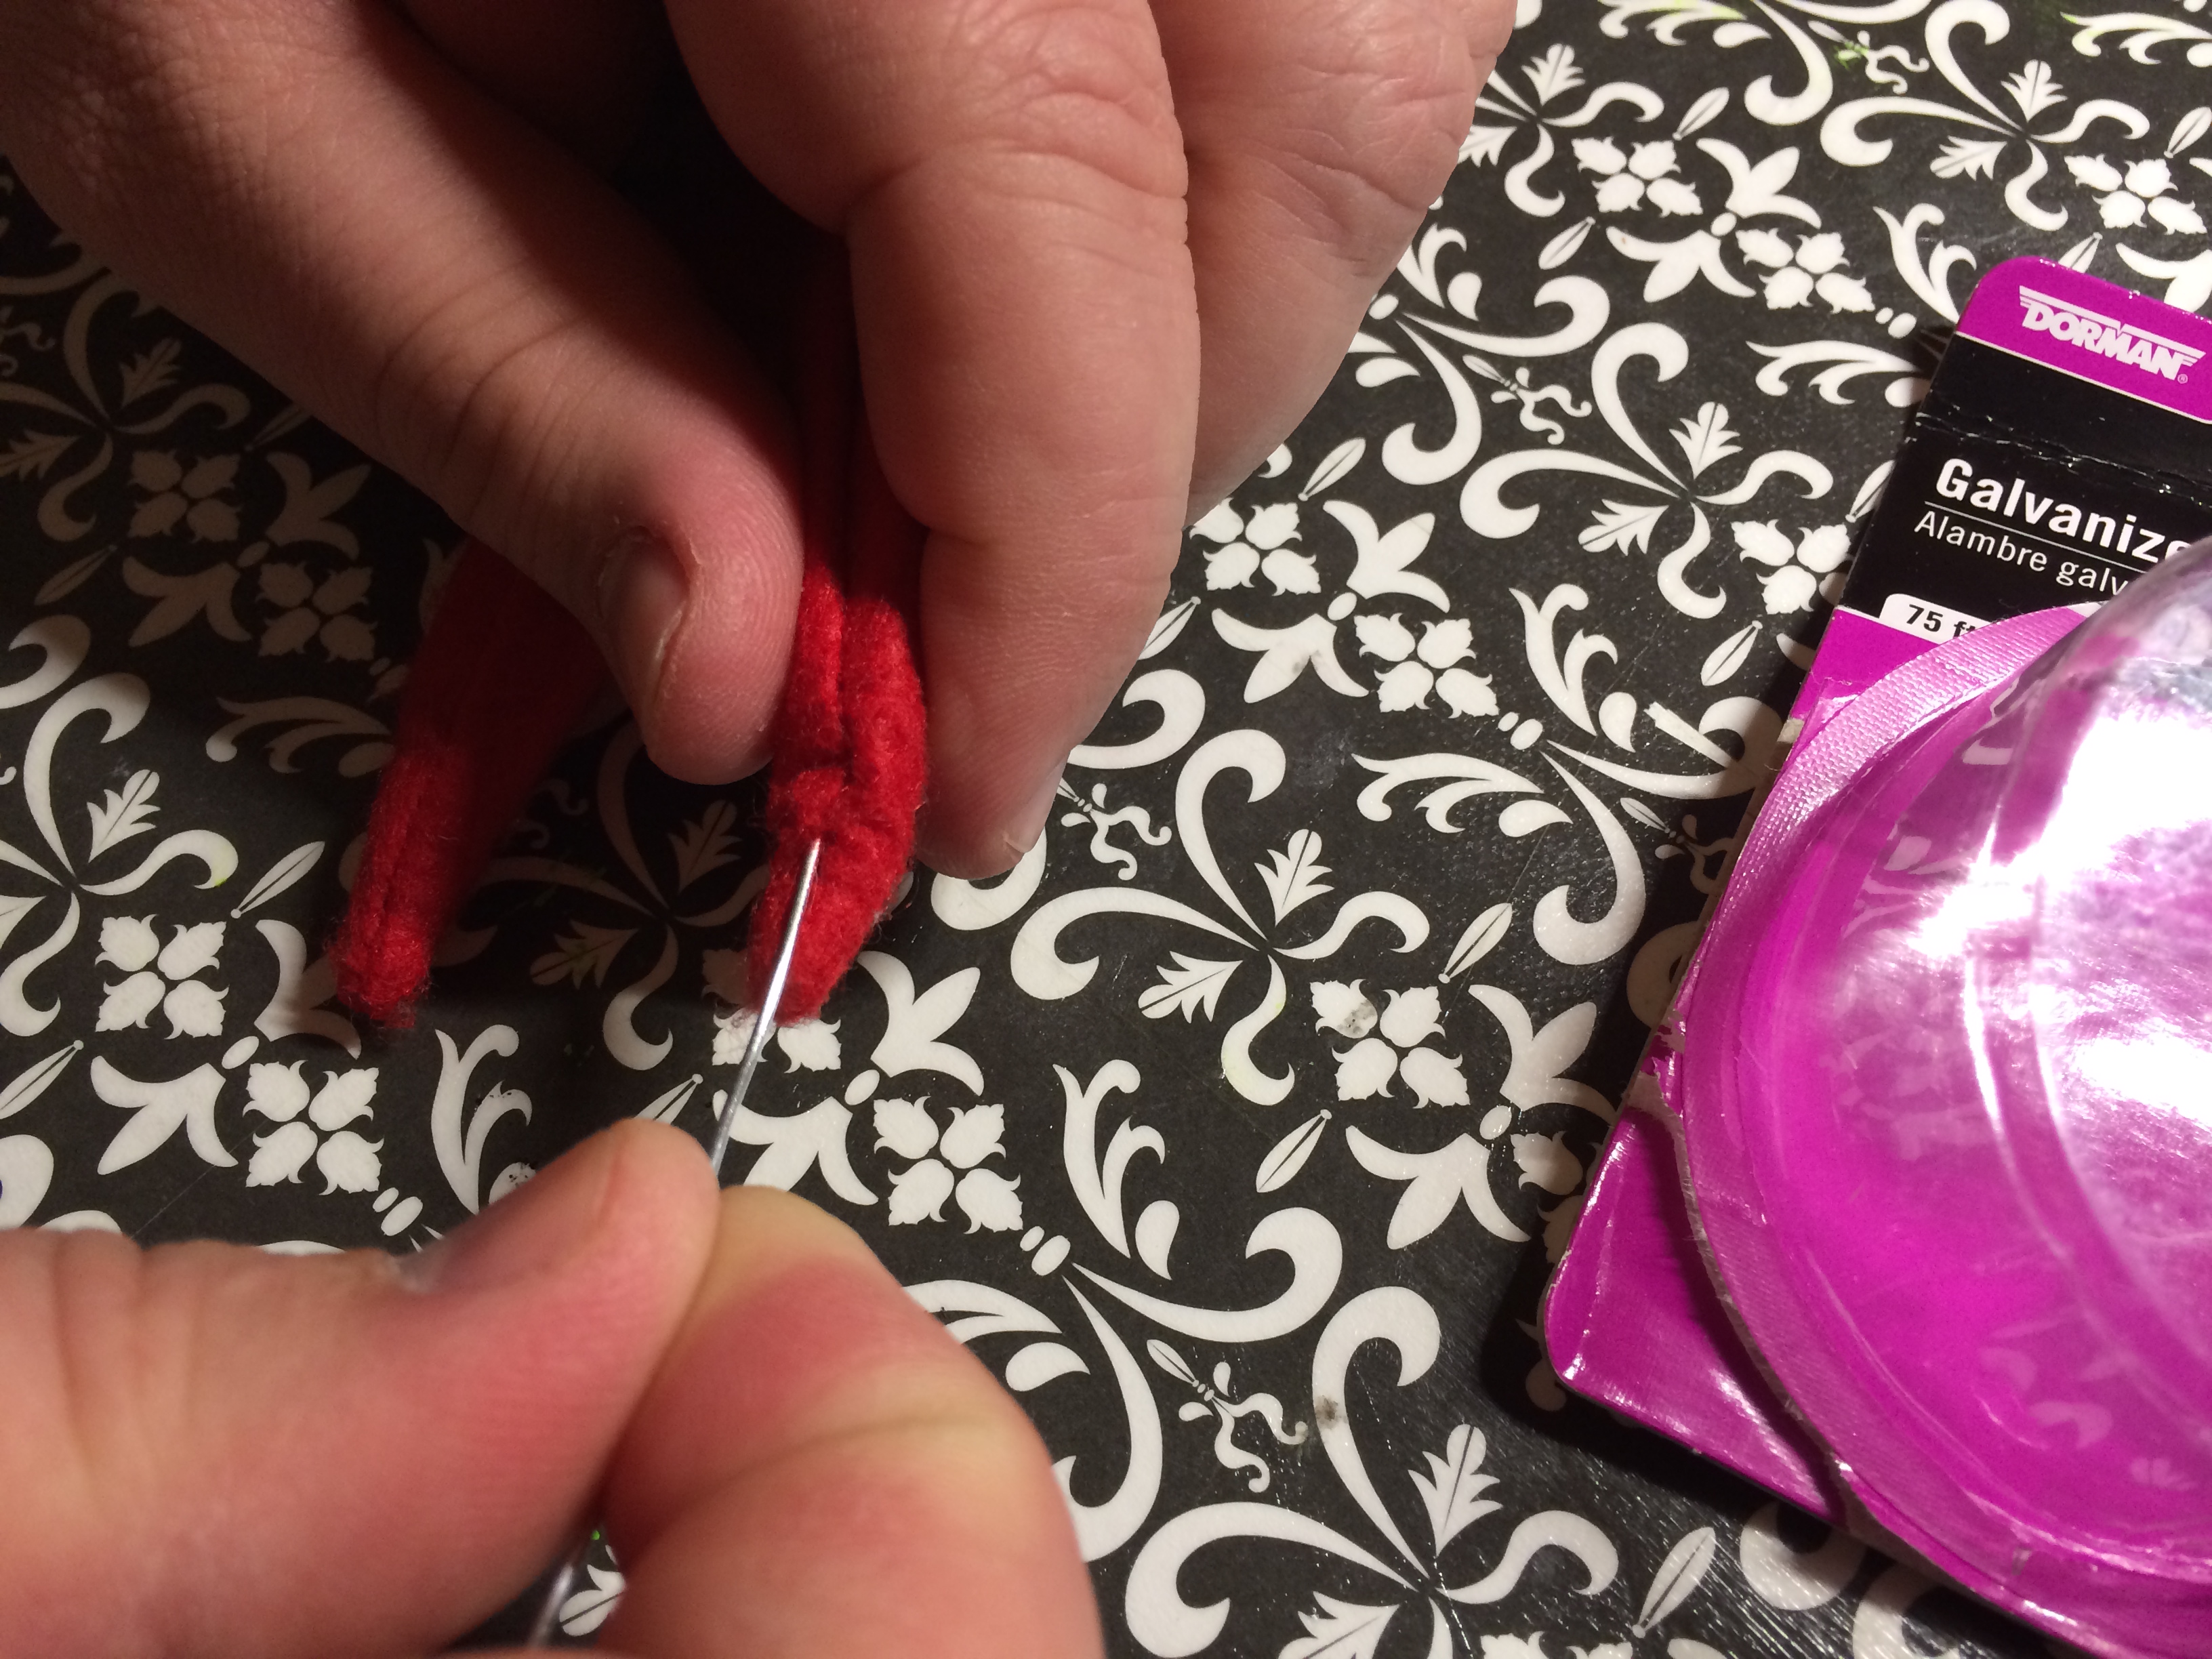
The simple posing elf is just making his arms and legs posable. Cut pieces of wire to the length of his/her arms/legs. Shove the wire into the seams starting at the toes/fingers. It goes in super easy. Make sure the end of the wire isn’t sticking out by either cutting it shorter or working it into the fabric. Voila your done! Seriously that’s it.
Option 2 (the hubbs version)
This option took about 30 min but it’s TOTALLY worth it!!!
You’ll need: the exact same needs as mentioned above.
The process is totally the same as above however instead of inserting the wire in the seams of the toes/arms it’s a bit different. You’ll need wire the length of the elf’s torso to toes. Start at the butt/leg seam and insert the piece going up the torso of the elf. Then shove the rest of the wire down the elf’s leg. Repeat on the other side and now his torso/legs are posable. For the arms you’ll get a piece of wire the length of fingertip to fingertip going across the neck/upper back area of the elf. From under the elf’s collar shove the wire in to the left or right (whichever way you want to start is fine). Then shove the other piece thru the other side of the elf’s arm/neck area. Now your elf’s arms can pose up and down and all around. Same with the legs and torso!
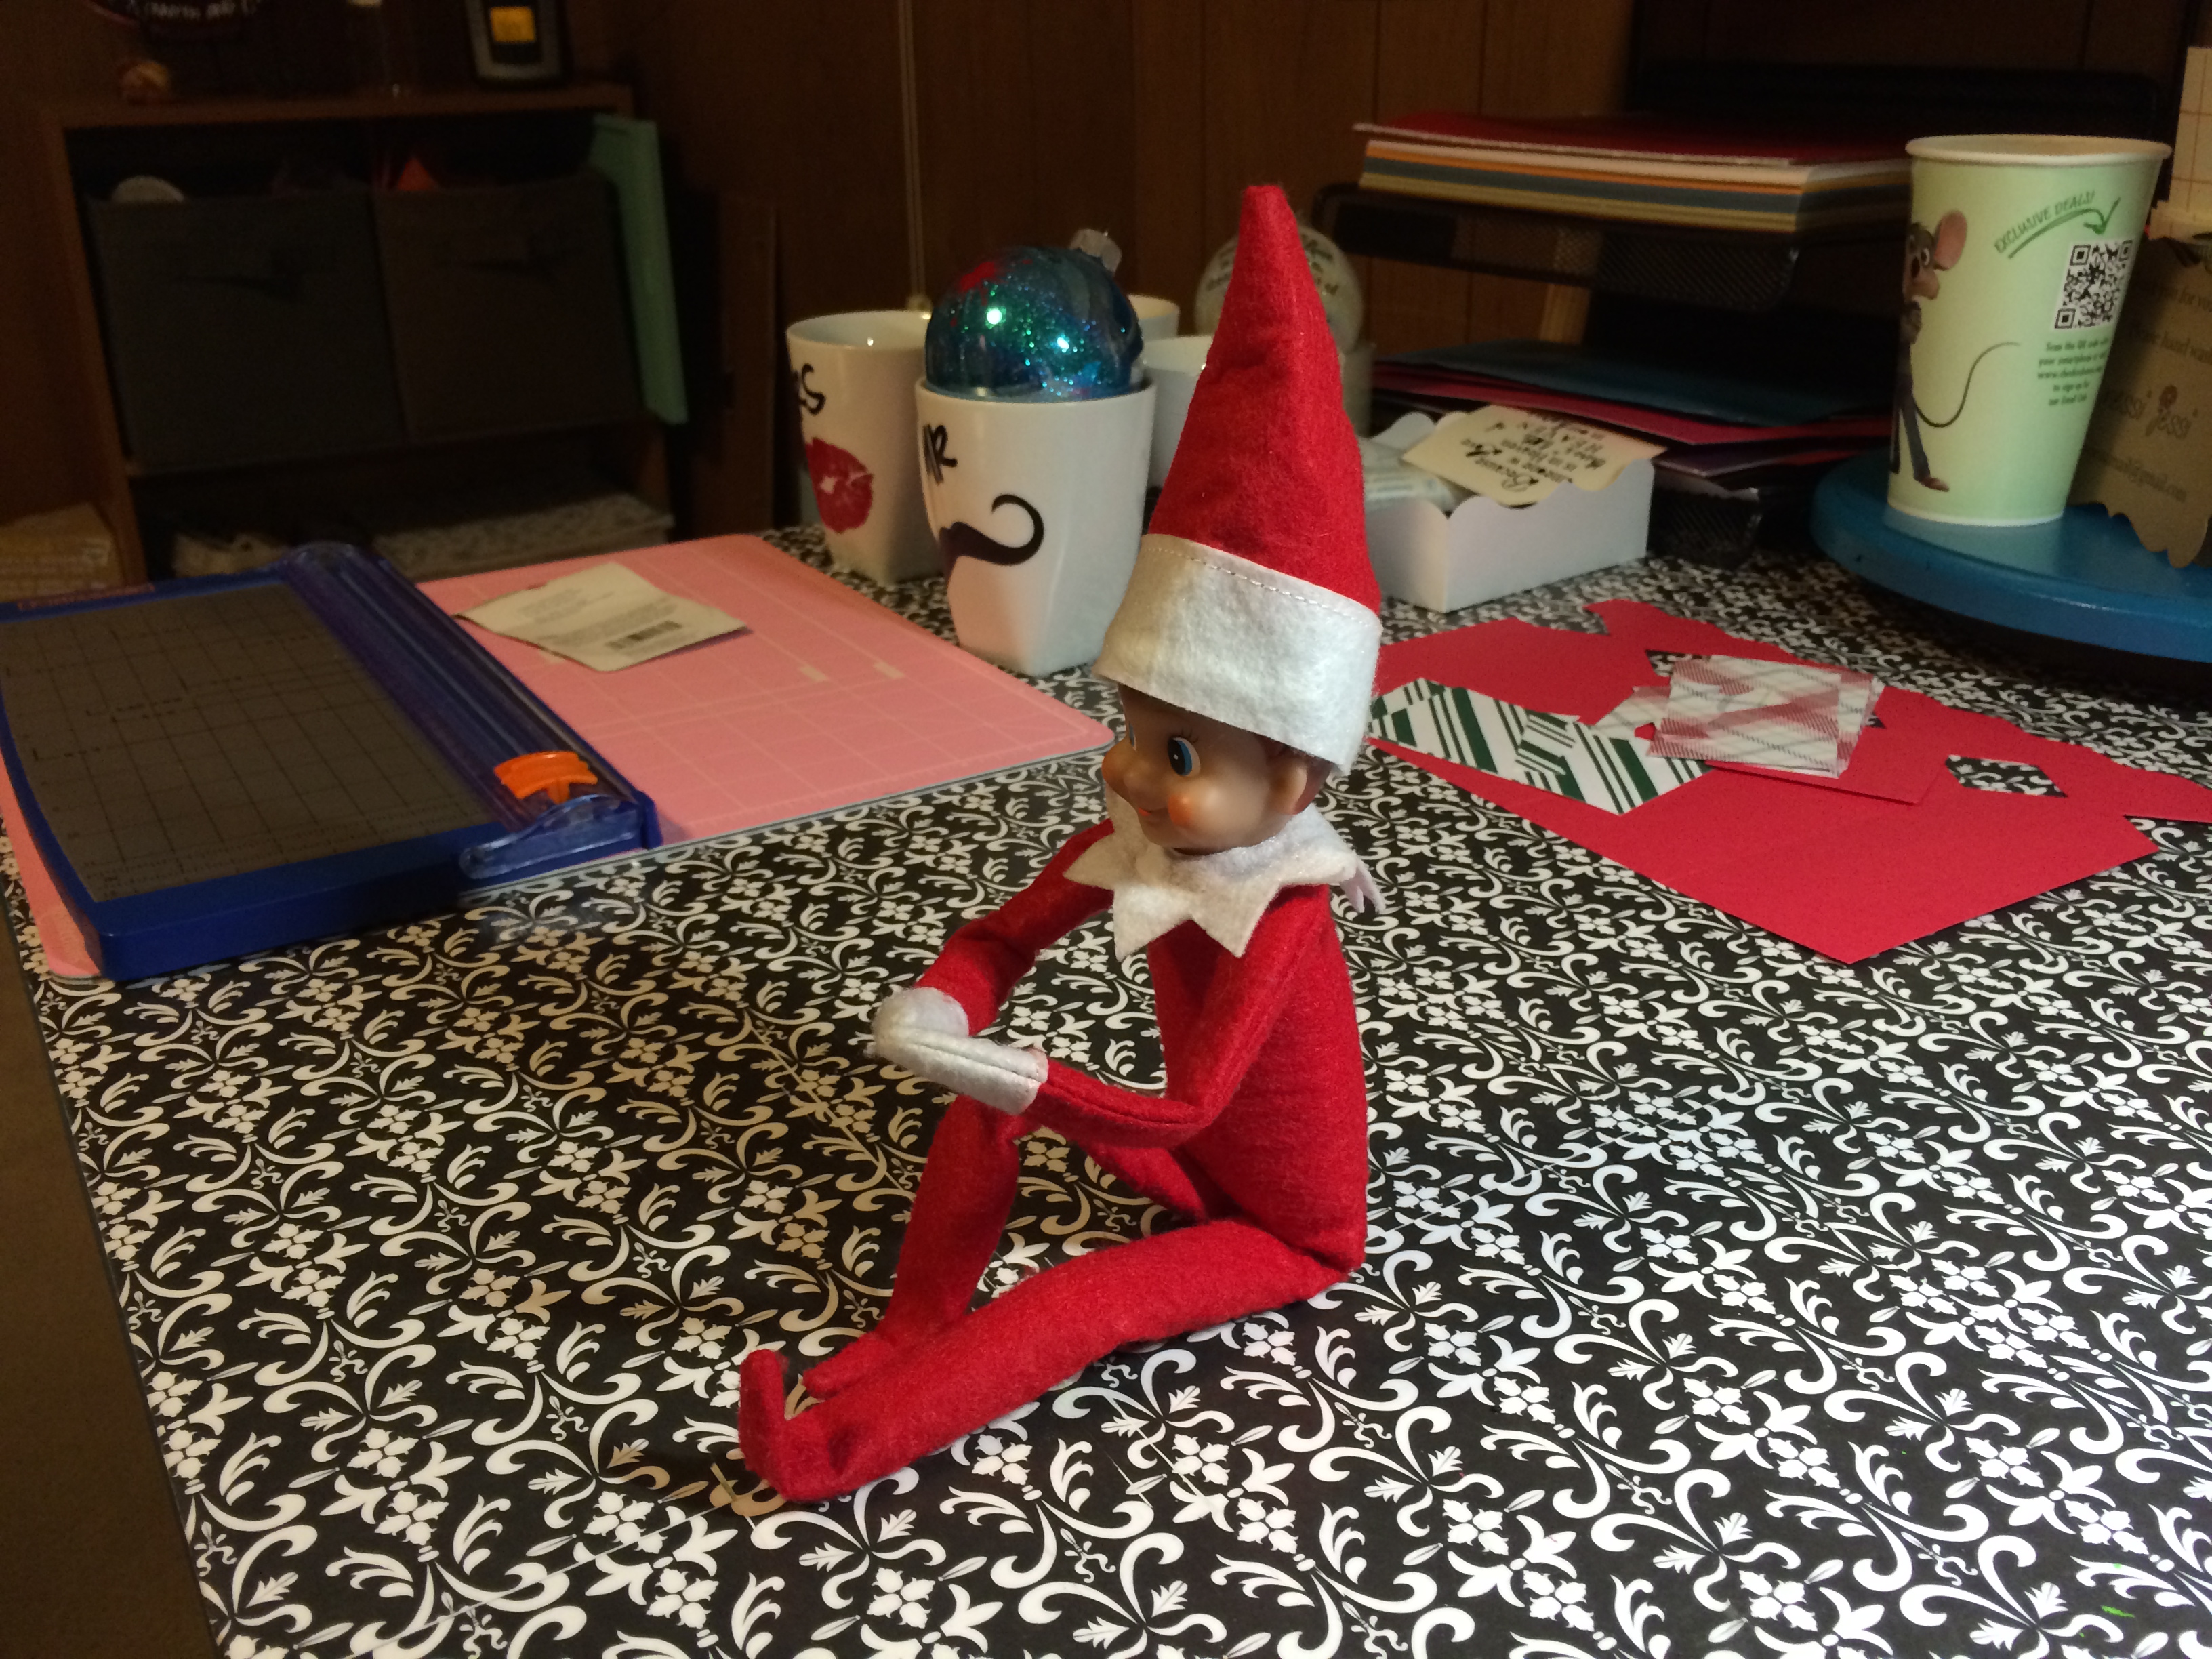
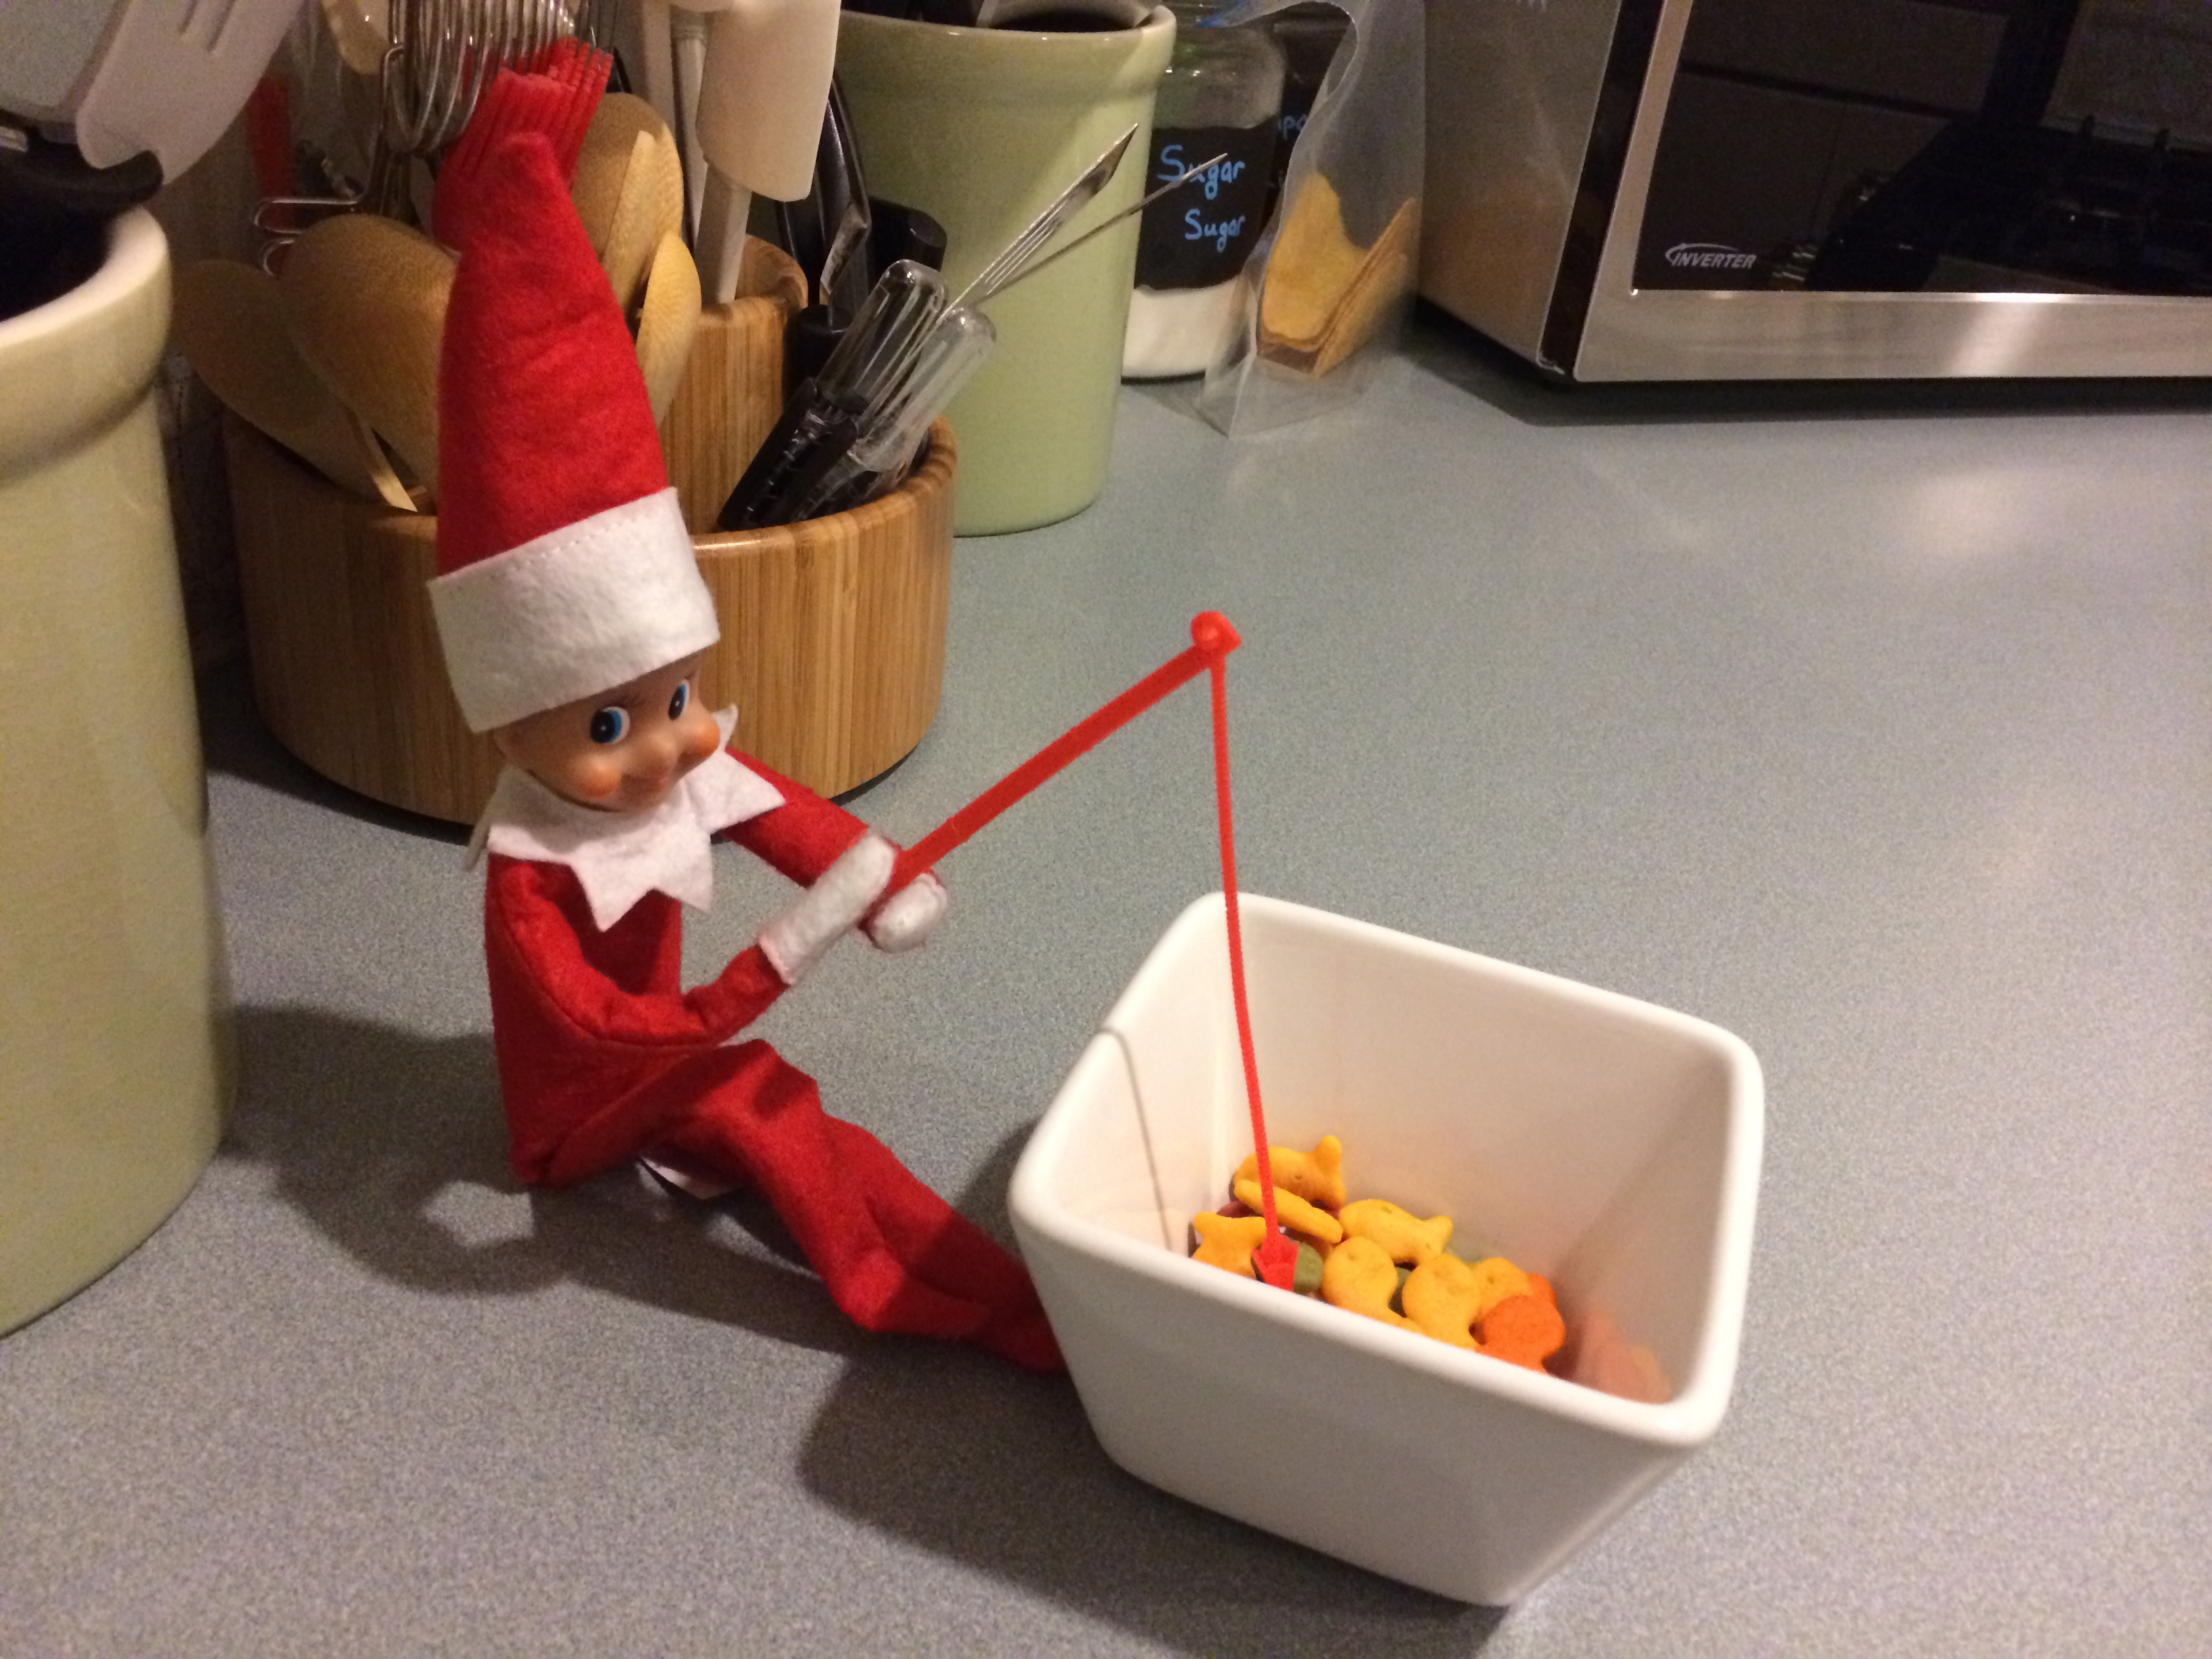
Enjoy your posable Elf!!
Recent Comments